

Introduction
In this article, we are going to see how to create blank PowerApps with Excel as a data source. Before reading the article, go through the Introduction to PowerApps and Creating Template with it.
Step 1
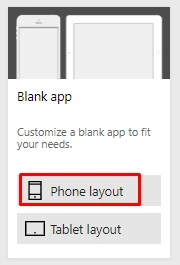
Create a blank app, choose the layout that you want - Phone or Tablet layout.
Step 2
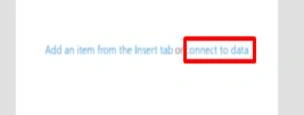
It shows the screen to connect with the data. Click -> “Connect to Data”.
Step 3
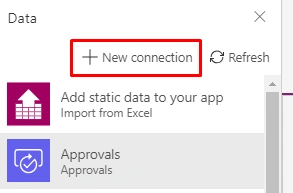
Click -> New connection.
Step 4
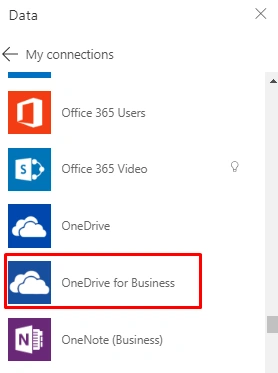
Choose a connection where you want to save the data. Click -> “one drive for business”.
Step 5
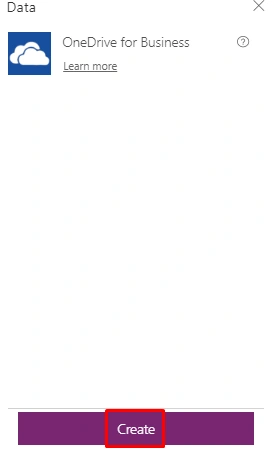
Click "Create" (To create a new connection).
Step 6
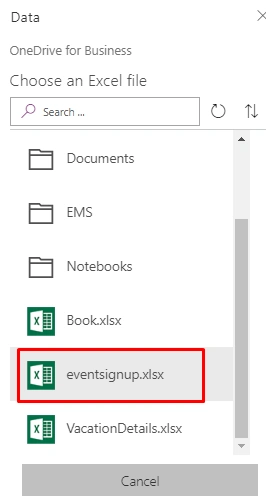
Choose an Excel file or folder (where you save the file).
Step 7
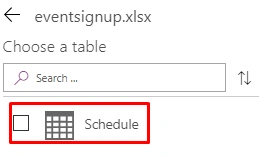
Choose the table from Excel file that you to want connect with PowerApps.
Step 8
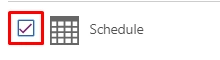
Choose the table name by clicking the checkbox.
Step 9
Click "Connect".

Step 10
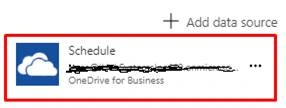
Add the data source successfully.
Step 11
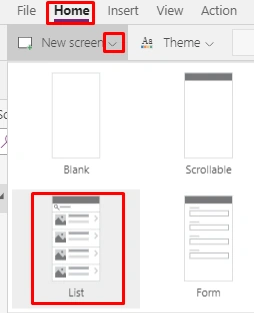
Click Home -> New Screen -> List.
Step 12
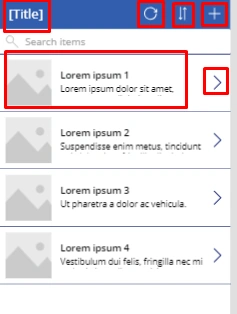
Refresh icon – to refresh the records.

Sorting Icon – sorting based on the title

Add Icon- to add a new record

Title Bar – title for grid

To view more details about a particular record

Show data title, subtitle, image.

The above images are shown in the below screen as one.
Step 13
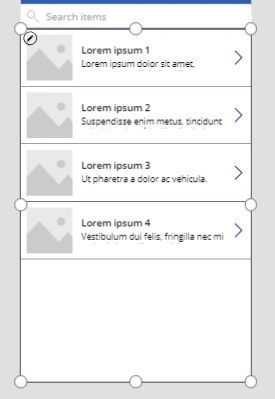
Select the grid area to map with the data.
Step 14
Click -> Properties -> Choose “Data”.
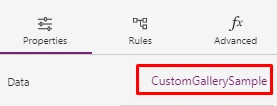
Step 15
Select “Schedule” to map data in the grid.
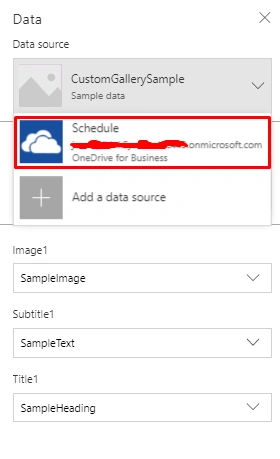
Step 16
Choose the Layout to show in the grid. Click -> Down Arrow.
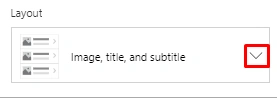
Step 17
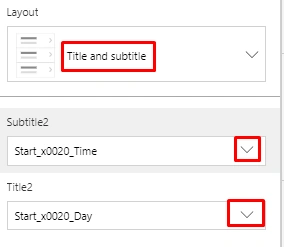
Various types of layout are available in Gallery Layout – Title and subtitle, title subtitle and body, title and image, title subtitle, and image. Choose “Title and subtitle”.
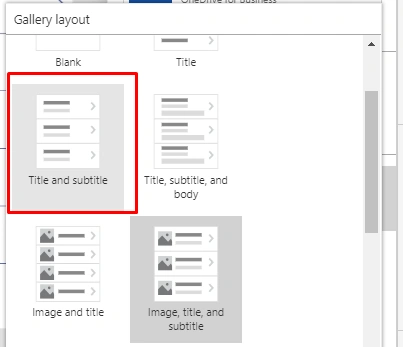
Step 18
The chosen layout is shown in the dropdown. And the select title and subtitle value. Click -> Down Arrow.
Step 19
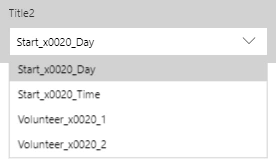
Show the Schedule table of columns.
Step 20
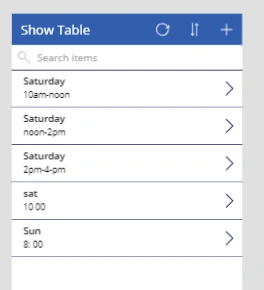
Bind Title – Day and Sub Title – Time. See the table value as below as the grid.
Step 21
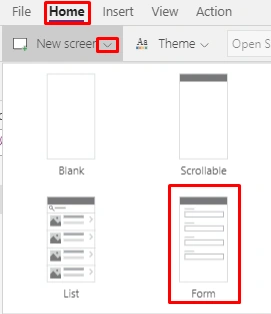
Click -> Home -> New Screen -> Form
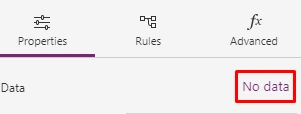
Step 22
Click -> Properties -> Data ->”No data”
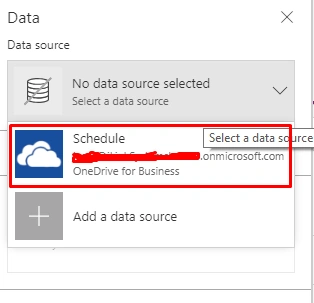
Step 23
Choose -> Data source -> Schedule
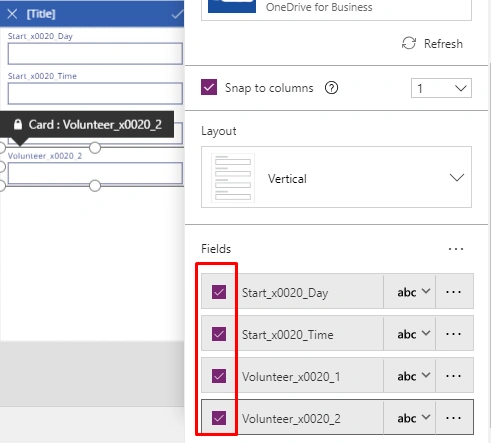
Step 24
In new form screen, select needed column to add, edit in forms
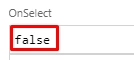
Step 25
Click -> Advanced -> OnSelect textbox remove “false” value
Write your formula
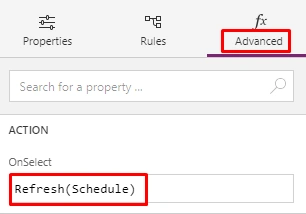
For refreshing icons in the grid.
Step 26
Add (+) screen
Add below Formula in Formula bar,

To add a new record on submit.
Step 27
Change screen (screen 3) close(X) Icon

Add Formula in Formula Bar - ResetForm(EditForm1);Navigate(Screen2, ScreenTransition.None)
Step 28
Below is the Edit submit button,

Add Edit submit Formula,

Step 29
Add delete icon
Insert-> Icons(click down arrow) ->choose -> Trash

Add Delete formula in the formula bar
Remove(Schedule, BrowseGallery1.Selected); Navigate(Screen3, ScreenTransition.None)
Delete Icon added in form,

Step 30
After running the app, you will see the below screen,
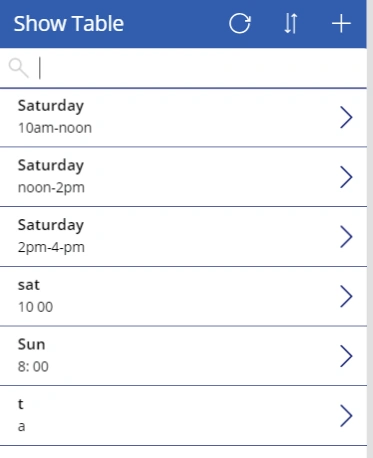
Step 31
Click > icon to view the detail of the records.
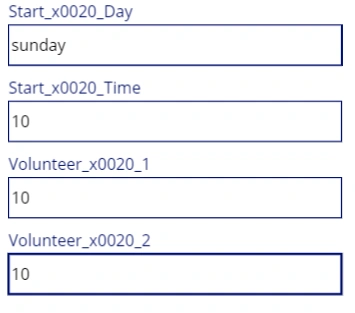
Click ->Submit the record (Add/Edit).
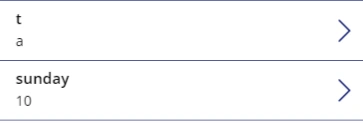
Below, new records are added for a sample
I hope you have found this article helpful.
Amarildo GuedesPosted Jun 22, 2020, 4:04 PM
Hi Ronika, as I'm starting on PowerApps, I have some doubts, in case you can help me. (1) How many records does the powerapps accept per table? (2) I created a login screen, and I would like to get the User, password and photo of this logged in user, I am using excel table on ondrive, which command should I use to validate the user in the table. I am grateful when I can, thank you.
Amarildo GuedesPosted Jun 17, 2020, 8:07 AM
Please, how do I get the user name from my login and send it to another form. I have FrmLogin TxtUsuario.Text and I want to send it to FrmMenu TxtUsuario.text, I am grateful for the help, thank you very much
Amarildo GuedesPosted Jun 17, 2020, 8:04 AM
Congratulations, I really liked the class, I'm learning how to create my first app, thank you
Mukesh KamathPosted Jul 2, 2019, 12:48 AM
You forgot to mention we will need to go to https://make.powerapps.com/ and make app there