

Introduction
In this article, we will learn how to create angular applications using ngx-translate.
Steps:
Step 1
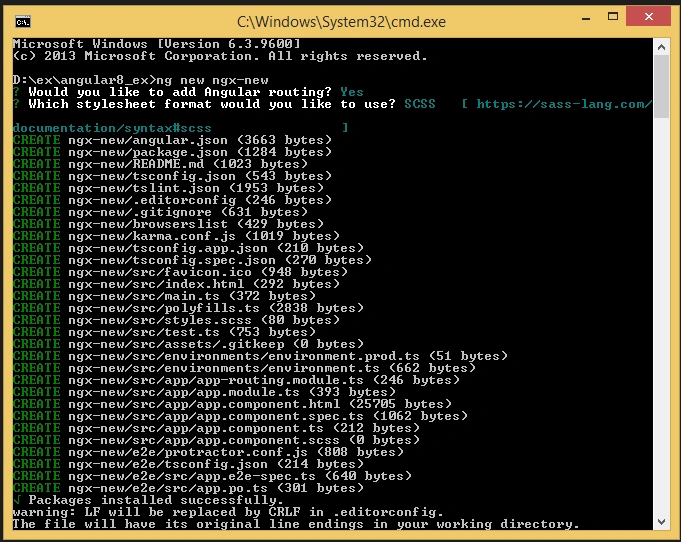
Create an Angular project setup using the below command or however you want to create it.
ng new projectname
Example:
ng new ngx-new
Step 2
Now, we must install @ngx-translate/core in our Angular app. Open a new terminal and run the below command.
npm i @ngx-translate/core

Now we can use ngx-translate in our Angular project. Then, we have to import TranslateModule.forRoot() in the root NgModule of your application.
- import {TranslateModule, TranslateLoader} from '@ngx-translate/core';
TranslateModule.forRoot()
Step 3
Now, we must install @ngx-translate/http-loader in our Angular app. Open a new terminal and run the below command.
npm i @ngx-translate/http-loader

The TranslateHttpLoader uses HttpClient to load translations, it means that you have to import the HttpClientModule from @angular/common/http before the TranslateModule,
app.module.ts
- import {
- BrowserModule
- } from '@angular/platform-browser';
- import {
- NgModule
- } from '@angular/core';
- import {
- AppRoutingModule
- } from './app-routing.module';
- import {
- AppComponent
- } from './app.component';
- import {
- HttpClient,
- HttpClientModule
- } from '@angular/common/http';
- import {
- TranslateModule,
- TranslateLoader
- } from '@ngx-translate/core';
- import {
- TranslateHttpLoader
- } from '@ngx-translate/http-loader';
- export function HttpLoaderFactory(httpClient: HttpClient) {
- return new TranslateHttpLoader(httpClient);
- }
- @NgModule({
- declarations: [
- AppComponent
- ],
- imports: [
- BrowserModule,
- AppRoutingModule,
- HttpClientModule,
- TranslateModule.forRoot({
- loader: {
- provide: TranslateLoader,
- useFactory: HttpLoaderFactory,
- deps: [HttpClient]
- }
- })
- ],
- providers: [],
- bootstrap: [AppComponent]
- })
- export class AppModule {}
Step 4
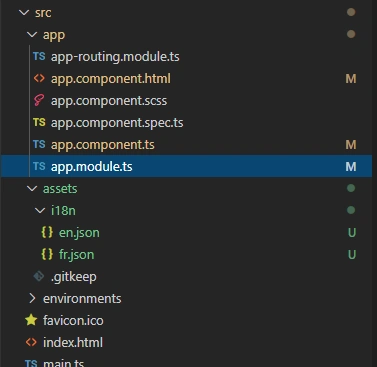
Now, we can use folder assets, then whatever language we want to create a separate JSON.
In this article, we are doing two languages:
en.json
- {
- "Dashboard": {
- "Title": "welcome Angular 9",
- "Option": "Change language"
- }
- }
fr.json
- {
- "Dashboard": {
- "Title": "bienvenue Angular 9",
- "Option": "Changer la langue"
- }
- }
Step 5
Now, we can do some code in app.component.ts
TranslateService
We have to initialize some properties in the TranslateService. The best place to do this is probably in our app.component.ts
- import {
- TranslateService
- } from '@ngx-translate/core';
- constructor(public translate: TranslateService) {
- translate.addLangs(['en', 'fr']);
- translate.setDefaultLang('en');
- const browserLang = translate.getBrowserLang();
- translate.use(browserLang.match(/en|fr/) ? browserLang : 'en');
- }
It will allows you to specify a fallback set of translations to use in case there are missing translations for the current language.
Translate.use(browserLang.match(/en|fr/) ? browserLang : 'en') - the service which is the current language to use for translations
Step 6
Now, we can do some code in app.component.html
- <div>
- <h3>{{ 'Dashboard.Title' | translate }}</h3>
- <div>
- {{ 'Dashboard.Option' | translate }}
- <select #langOption (change)="translate.use(langOption.value)">
- <option *ngFor="let lang of translate.getLangs()" [value]="lang" [selected]="lang === translate.currentLang">{{ lang }}</option>
- </select>
- </div>
- </div>
Step 7
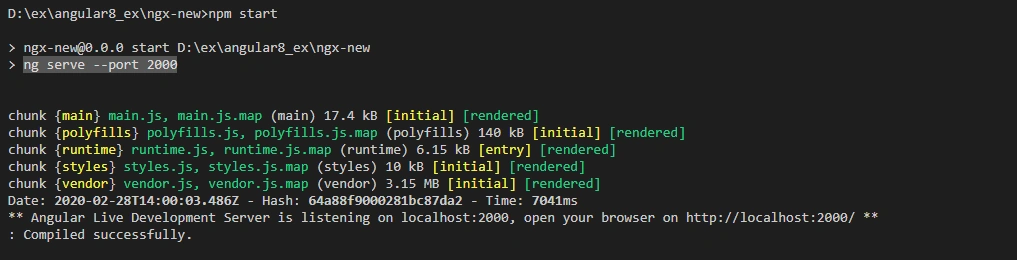
Now, Run the application:
npm start
Step 8
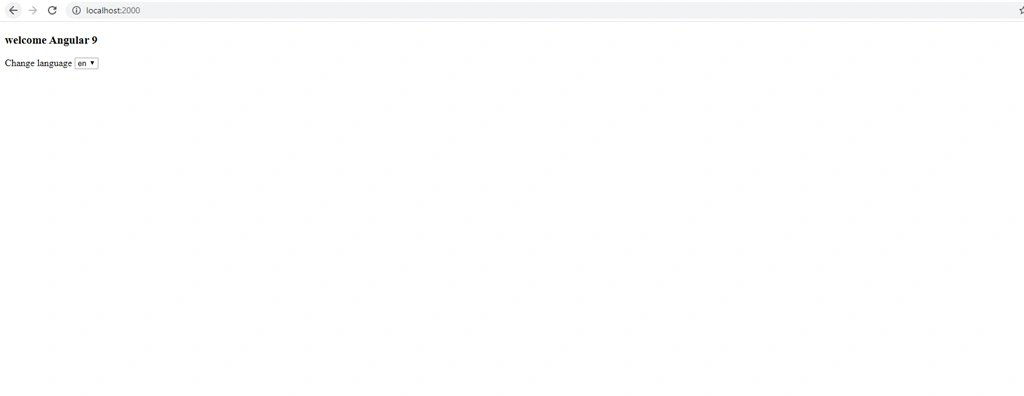
Now, we will get the following output...
Join the conversation! Your thoughts help the community grow.