

Introduction
In this article, we will learn how to create Angular applications using Custom Pipe.
Step 1
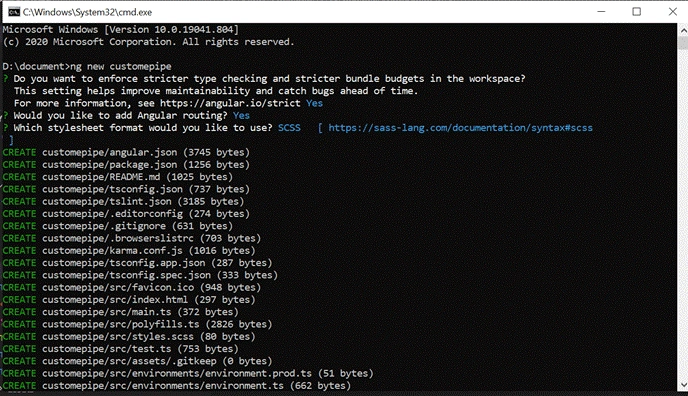
Create an Angular project setup using the below commands or however you create your Angular app
ng new custompipe
Step 2
Open a new terminal and run the following below commands
Install Boostrap as a dependency in your app
npm install bootstrap
angular.json
- "styles": [
- "./node_modules/bootstrap/dist/css/bootstrap.css",
- "src/styles.scss"
- ],
Add the style boostrap url in angular.json file.
Step 3 - Pipe
Pipes are very useful in Angular. Pipe are a simple function in Angular, and a simple way to transform values in a template. A pipe takes in a value or values and it returns a value. This is great for simple transformations on data but it can also be used in other unique ways.
How to create a custome Pipe
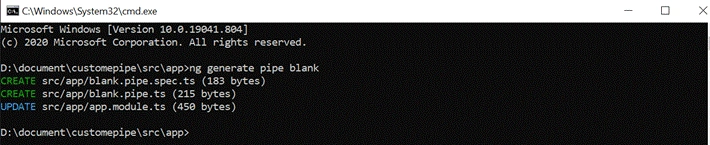
Now we will create an Angular pipe then we will implement the customepipe integration:
ng generate pipe blank
App.module.ts
Now we will declarae custom pipe in app.module.ts,
- import { BrowserModule } from '@angular/platform-browser';
- import { NgModule } from '@angular/core';
- import { AppRoutingModule } from './app-routing.module';
- import { AppComponent } from './app.component';
- import { BlankPipe } from './blank.pipe';
- @NgModule({
- declarations: [
- AppComponent,
- BlankPipe
- ],
- imports: [
- BrowserModule,
- AppRoutingModule
- ],
- providers: [],
- bootstrap: [AppComponent]
- })
- export class AppModule { }
Step 4 - PipeTransform Interface
An interface that is implemented by pipes in order to perform a transformation. Angular invokes the transform method with the value of a binding as the first argument and any parameters as the second argument in list form
Next, we can implement some logic on our customepipe ts file
blank.pipe.ts
- import { Pipe, PipeTransform } from '@angular/core';
- @Pipe({
- name: 'blank'
- })
- export class BlankPipe implements PipeTransform {
- transform(input: any, ...args: unknown[]): any {
- return (input === null || input === undefined || input ===" ") ? '-' : input;
- }
- }
Step 5
Next, we can open the app.component.ts and write some code.
- import { Component, OnInit } from '@angular/core';
- @Component({
- selector: 'app-root',
- templateUrl: './app.component.html',
- styleUrls: ['./app.component.scss']
- })
- export class AppComponent implements OnInit {
- title = 'customepipe';
- arrList= [
- { id: 1, name: 'Name1',value:null,status:'pending'},
- { id: 2, name: 'Name2',value:null,status:'pending' },
- { id: 3, name: 'Name3',value:'View',status:'pending' }
- ]
- constructor(){}
- ngOnInit() {}
- }
Step 6
Now, we will write integration on App.component.html
- <h4 class="t-center">{{title}}</h4>
- <table>
- <thead>
- <tr>
- <th>NO</th>
- <th>Name</th>
- <th>Value</th>
- <th>Status</th>
- </tr>
- </thead>
- <tbody>
- <tr *ngFor="let item of arrList; let i = index ">
- <td data-column="NO">{{item.id}}</td>
- <td data-column="Name">{{item.name}}</td>
- <td data-column="Value">{{item.value | blank}}</td>
- <td data-column="Status">{{item.status}}</td>
- </tr>
- </tbody>
- </table>
</table>
Step 7
Now we will run the application
ng serve --port 4401
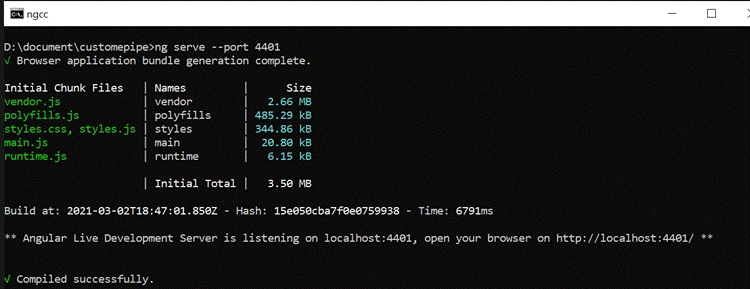
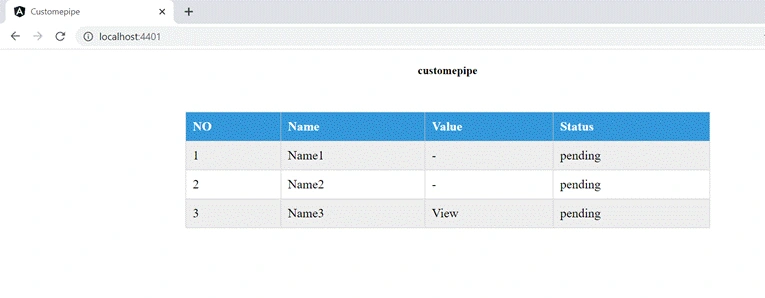
In browser, we will get the following output...
Join the conversation! Your thoughts help the community grow.