

Introduction
In this article, we'll walk you through creating a Windows application using C# to control an Arduino board via serial communication. We will turn an LED on and off using a relay switch connected to the Arduino. This project is perfect for beginners to learn about integrating Arduino with C# applications.
Set Up the Arduino
- Connect a relay switch to the Arduino board.
- Connect the relay's IN pin to digital pin 7, VCC to 5V, and GND to GND on the Arduino.
1. Upload the following code to the Arduino
int relayPin = 7;
void setup() {
  pinMode(relayPin, OUTPUT);
  Serial.begin(9600);
}
void loop() {
  if (Serial.available()) {
    char command = Serial.read();
    if (command == '1') {
      digitalWrite(relayPin, HIGH);
    } else if (command == '0') {
      digitalWrite(relayPin, LOW);
    }
  }
}
2. Create the C# Windows Application
- Open Visual Studio and create a new Windows Forms App.
- Add two buttons to the form: "On" and "Off".
- Add a SerialPort component to the form.
Configure the SerialPort component to match the Arduino's settings (9600 baud rate, COM port, etc.).
3. C# Code to Control Arduino
In the Form 1. cs file, add the following code.
using System;
using System.IO.Ports;
using System.Windows.Forms;
public partial class Form1 : Form
{
    SerialPort arduinoPort;
    public Form1()
    {
        InitializeComponent();
        arduinoPort = new SerialPort("COM3", 9600);
        arduinoPort.Open();
    }
    private void btnOn_Click(object sender, EventArgs e)
    {
        arduinoPort.Write("1");
    }
    private void btnOff_Click(object sender, EventArgs e)
    {
        arduinoPort.Write("0");
    }
    protected override void OnFormClosing(FormClosingEventArgs e)
    {
        arduinoPort.Close();
        base.OnFormClosing(e);
    }
}
4. Build and Run the Application
- Build the project and run the application.
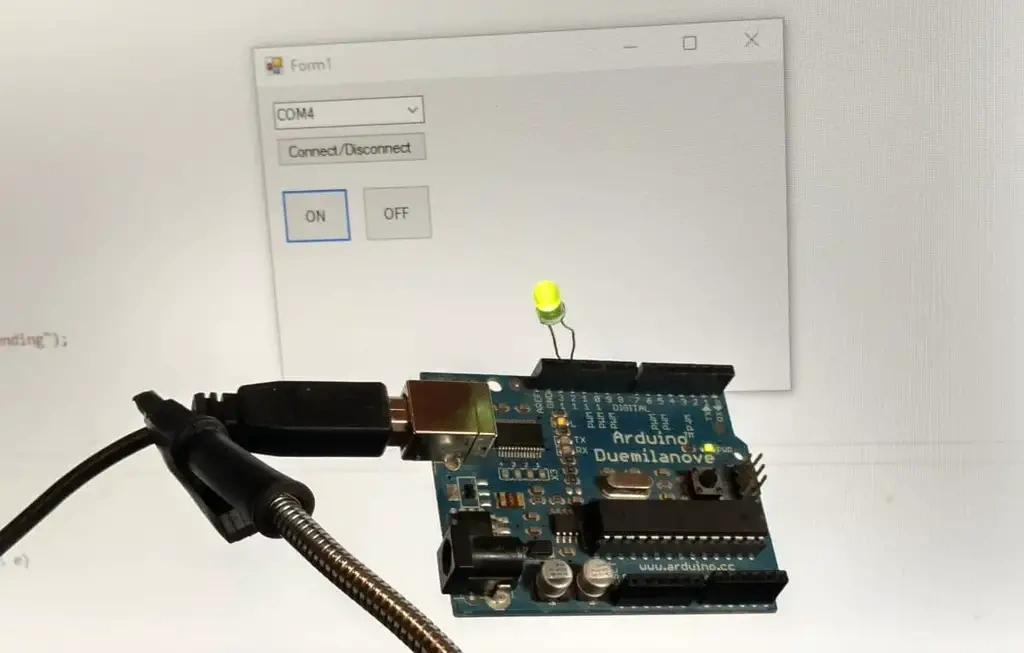
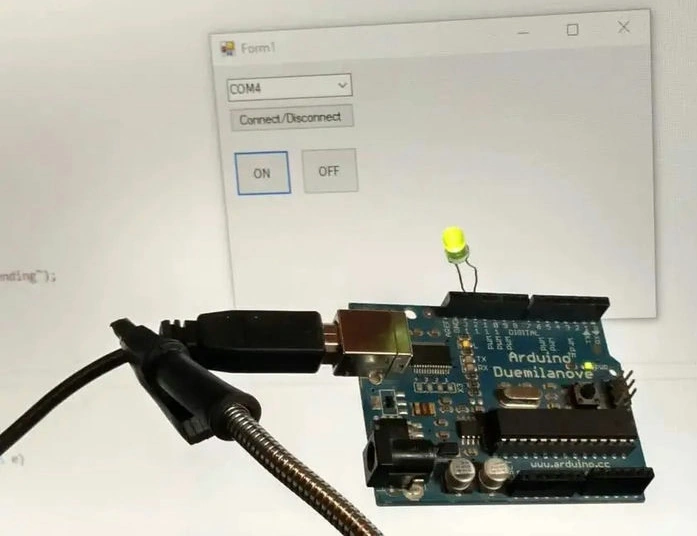
- Click the "On" button to activate the relay and turn on the LED.
- Click the "Off" button to deactivate the relay and turn off the LED.
Conclusion
This project demonstrates how to control an Arduino using a C# Windows application via serial communication. By following these steps, you can expand this basic setup to control multiple devices and integrate more complex functionality into your projects.
Join the conversation! Your thoughts help the community grow.