

Introduction
In this second part of my Angular 6 article series, we are going to learn how to create components, display a component using router outlet, show a menu list on mouseover, and load a component on a button click event.
Before moving to the environment set up, please read my previous article:
PART 1 - How to create components and display a component using router outlet.
Step 1
Now, right-click on the components folder, click on "Open in terminal". Now, your terminal opens in Visual Studio Code. I am going to create three different components for three different menus, i.e., C#, ASP.NET MVC, Contact Us like csharp, mvc, contactus.
To create a component, use the below syntax.
- ng g c Your-Component-Name
From the above syntax, I am creating components.
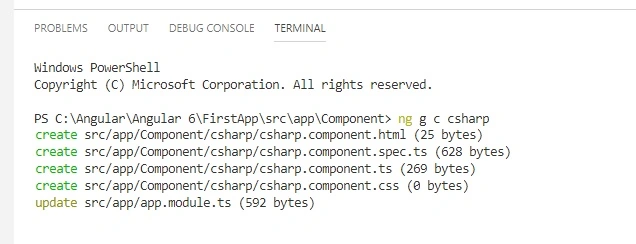
After successful creation, each entry gets added into an app.module.ts file. For more information, see the below file.
app.module.ts
- import { BrowserModule } from '@angular/platform-browser';
- import { NgModule } from '@angular/core';
- import { AppComponent } from './app.component';
- import { HeaderComponent } from './Component/header/header.component';
- import { FooterComponent } from './Component/footer/footer.component';
- import { CsharpComponent } from './Component/csharp/csharp.component';
- import { MvcComponent } from './Component/mvc/mvc.component';
- import { ContactusComponent } from './Component/contactus/contactus.component';
- @NgModule({
- declarations: [
- AppComponent,
- HeaderComponent,
- FooterComponent,
- CsharpComponent,
- MvcComponent,
- ContactusComponent
- ],
- imports: [
- BrowserModule
- ],
- providers: [],
- bootstrap: [AppComponent]
- })
- export class AppModule { }
Step 2
Now, add the below line in app.module.ts.
- import { RouterModule } from '@angular/router';
Router imports
The Angular Router is an optional service that presents a particular component view for a given URL. It is not part of the Angular Core. It is in its own library package, @angular/router. Import what you need from it as you would from any other Angular package.
Also, import the path and component names as below.
complete app.module.ts file
- import { BrowserModule } from '@angular/platform-browser';
- import { NgModule } from '@angular/core';
- import { AppComponent } from './app.component';
- import { RouterModule } from '@angular/router';
- import { HeaderComponent } from './Component/header/header.component';
- import { FooterComponent } from './Component/footer/footer.component';
- import { CsharpComponent } from './Component/csharp/csharp.component';
- import { MvcComponent } from './Component/mvc/mvc.component';
- import { ContactusComponent } from './Component/contactus/contactus.component';
- @NgModule({
- declarations: [
- AppComponent,
- HeaderComponent,
- FooterComponent,
- CsharpComponent,
- MvcComponent,
- ContactusComponent
- ],
- imports: [
- BrowserModule,
- RouterModule.forRoot([
- { path: 'csharp', component: CsharpComponent },
- {path: 'mvc', component: MvcComponent},
- {path: "contactus" , component:ContactusComponent}
- ]),
- ],
- providers: [],
- bootstrap: [AppComponent]
- })
- export class AppModule { }
Step 3
Now, to redirect the appropriate component, use the below syntax and add this to the app.component.html page.
- <router-outlet></router-outlet>
Router outlet
The RouterOutlet is a directive from the router library that is used as a component. It acts as a placeholder that marks the spot in the template where the router should display the components for that outlet.
complete app.component.html file
- <app-header></app-header>
- <router-outlet></router-outlet>
- <app-footer></app-footer>
Step 4
In each component, I am writing some dummy data:
csharp.component.html
- <p>
- csharp works!
- </p>
mvc.component.html
- <p>
- mvc works!
- </p>
contactus.component.html
- <p>
- contact us works!
- </p>
For a better look & feel, I am going to add some CSS in each component for the paragraph tag.
csharp.component.css
- p {
- padding: 20px;
- width: 98%;
- background-color: #dae246;
- height: 120px;
- }
To see the folder structure of our project, refer to the below image.
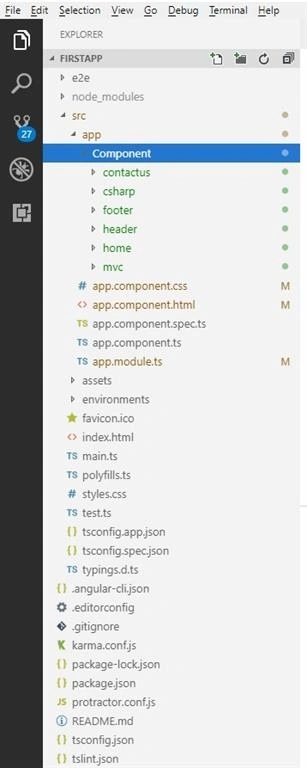
Now, run the application.
- ng serve -o
Your output will look like this.
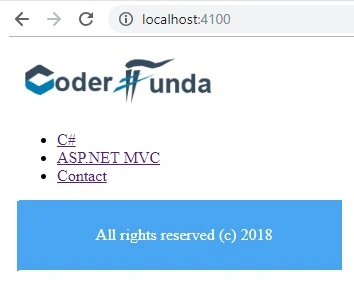
Now, click on the C# menu and you will get the output as below.
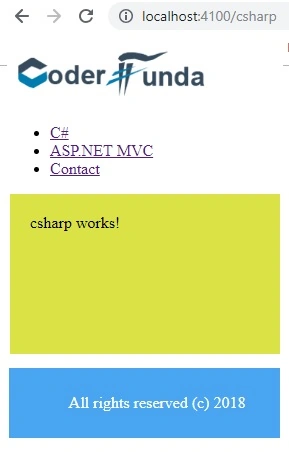
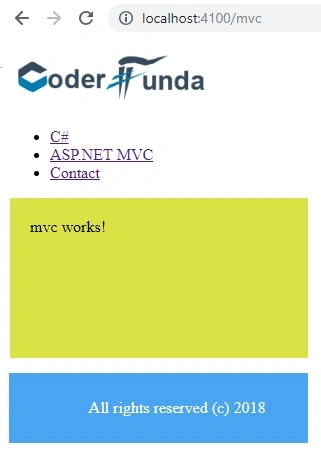
Now, click on the ASP.NET MVC menu and you will get the output as:
PART 2 - Show a menu list on mouse over and redirect to components on menu click
Step 1
As we have header.component.html, I am going to create a dropdown list which contains menus. The user would like to open the drop-down menu list on mouseover of the button.
Below is the code to create a drop-down list in the header.component.html file.
Note
I have commented the old code for the time being.
Here is the code of the complete header.component.html file:
- <div style="text-align:Left">
- <img width="200" alt="CodderFunda Logo" src="http://coderfunda.com/wp-content/uploads/2018/02/logo2.png">
- </div>
- <!-- <ul>
- <li><a routerLink="/csharp">C#</a></li>
- <li><a routerLink="/mvc">ASP.NET MVC</a></li>
- <li><a routerLink="/contactus">Contact</a></li>
- </ul> -->
- <h2>Hoverable Dropdown</h2>
- <p>Move the mouse over the button to open the dropdown menu list.</p>
- <div class="dropdown">
- <button class="dropbtn">Menu List</button>
- <div class="dropdown-content">
- <a routerLink="/csharp">C#</a>
- <a routerLink="/mvc">ASP.NET MVC</a>
- <a routerLink="/contactus">Contact</a>
- </div>
- </div>
- <p style="margin-top:15%"></p>
Step 2
In header.component.css, by using a class, we are applying CSS and the mouseover effect.
- .dropbtn {
- background - color: #4CAF50;
- color: white;
- padding: 16px;
- font-size: 16px;
- border: none;
- }
- .dropdown {
- position: relative;
- display: inline-block;
- }
- .dropdown-content {
- display: none;
- position: absolute;
- background-color: # f1f1f1;
- min - width: 160 px;
- box - shadow: 0 px 8 px 16 px 0 px rgba(0, 0, 0, 0.2);
- z - index: 1;
- }.dropdown - content a {
- color: black;
- padding: 12 px 16 px;
- text - decoration: none;
- display: block;
- }.dropdown - content a: hover {
- background - color: #ddd;
- }.dropdown: hover.dropdown - content {
- display: block;
- }.dropdown: hover.dropbtn {
- background - color: #3e8e41;}
Step 3
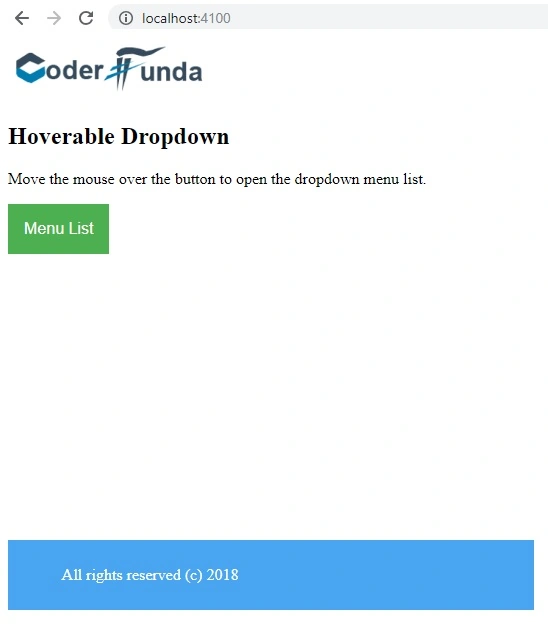
Now, run the application.
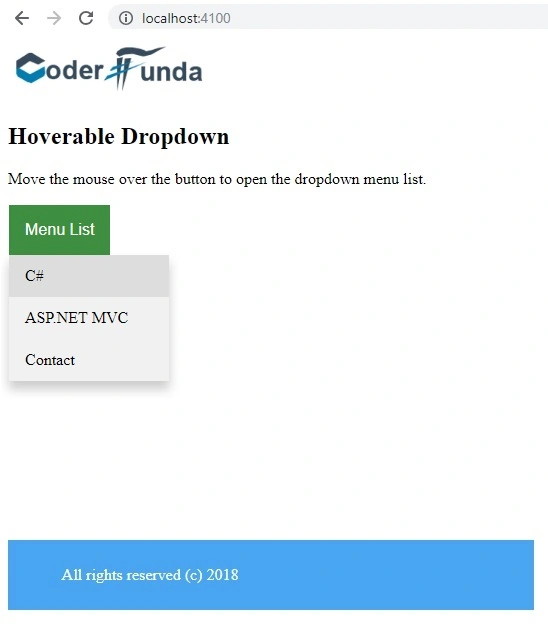
Now, take the mouse over to the menu. You will get the result as:
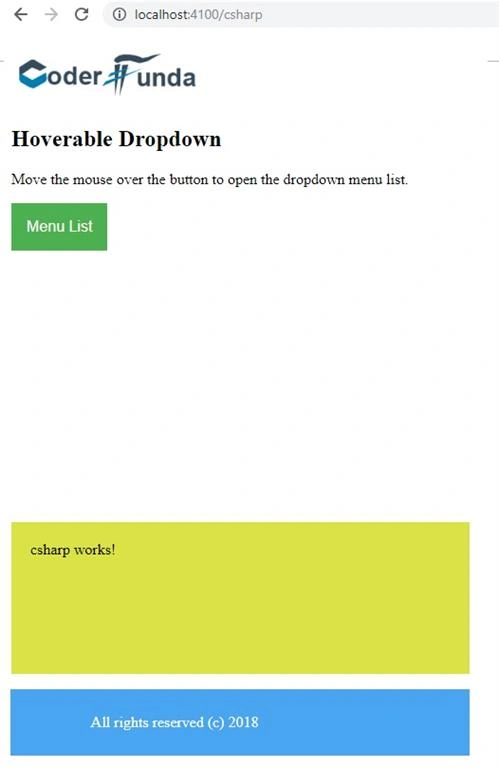
Now, click on the C# menu and you will get an output as -
PART 3 - Load specific component on button click event.
Step 1
Now, I am creating one component, i.e., Home. Use the following syntax.
- ng g c Home
In home.component.html, create one input button with an onclick event as below.
home.component.html
- <p> home works! </p>
- <input type="button" value="Go To MVC" (click)="onSubmit()" />
- <br>
- <p>
- </p>
Step 2
In the home.component.ts file, write the function for onclick event which will navigate to another component using a router:
- import {Router} from '@angular/router';
After that, create an object of the router into a constructor.
Here is the complete code for the home.component.ts file.
- import {
- Component,
- OnInit
- } from '@angular/core';
- import {
- Router
- } from '@angular/router';
- @Component({
- selector: 'app-home',
- templateUrl: './home.component.html',
- styleUrls: ['./home.component.css']
- })
- export class HomeComponent implements OnInit {
- constructor(private router: Router, ) {}
- onSubmit() {
- this.router.navigate(['/mvc'])
- }
- ngOnInit() {}
- }
Step 3
Now, run the application and call the home component.
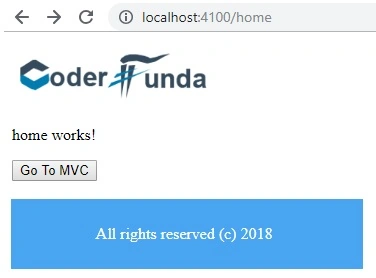
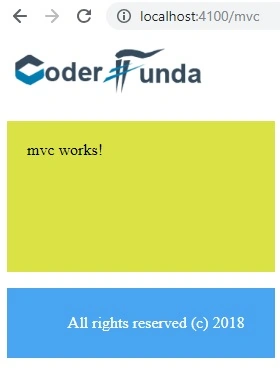
Click on "Go To MVC" button and it will redirect you to the MVC component.
Summary
In this article, you learned how to create components, display a component using router outlet, show a menu list on mouseover, and load component on button click event.
a agaPosted Sep 11, 2020, 8:36 AM
Router link not working page is not display
Amit Kumar SinghPosted Oct 8, 2018, 6:55 AM
Nice one ... Thanks for Sharing Rupesh Sir :)