

When you are creating any new Universal Windows Application, Visual Studio defaults start the MainPage.xaml. Here we will have a look at how to change it to a custom page according to the user choice.
Step 1: Open Visual Studio and add a new page to your project by right clicking your Project Add a New Item
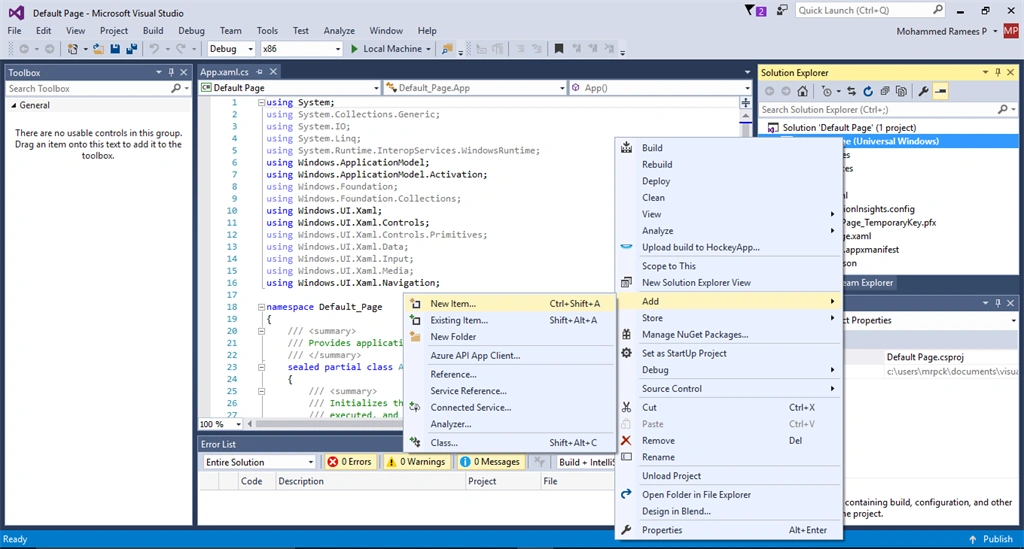
Step 2: Add a new Blank Page. You can give your custom name for the App. Here I have given a name myNewPage
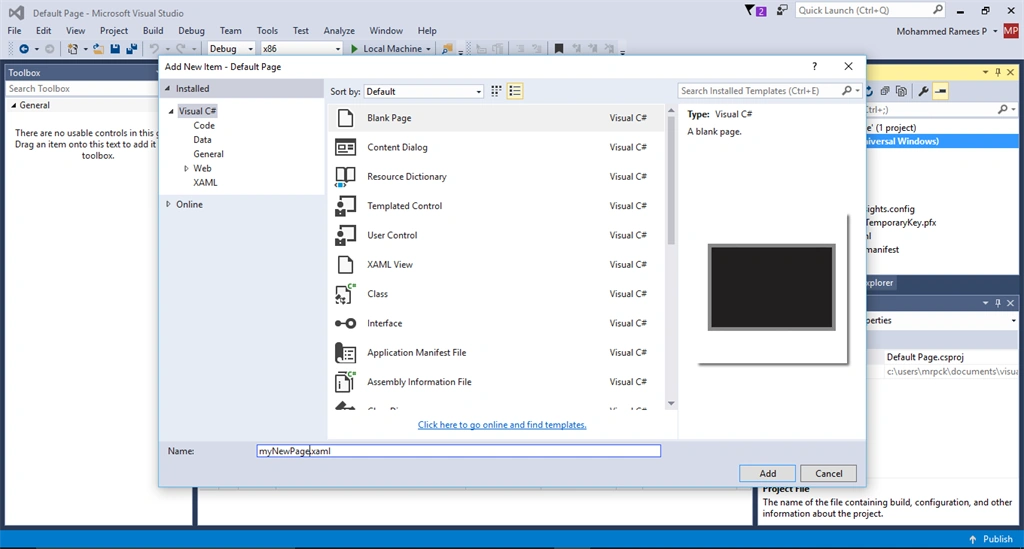
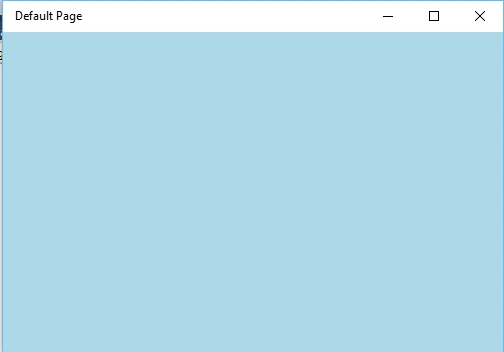
Here for understanding I have changed the background color of my new page to light blue.
Step 3: Open the App.xaml.cs page and find the following code
- if (e.PrelaunchActivated == false)
- {
- if (rootFrame.Content == null)
- {
- // When the navigation stack isn't restored navigate to the first page,
- // configuring the new page by passing required information as a navigation
- // parameter
- rootFrame.Navigate(typeof(MainPage), e.Arguments);
- }
- // Ensure the current window is active
- Window.Current.Activate();
- }
Step 4: Here change the MainPage to your new Page name
Step 5: Run and Test your Application
Sainul AbidPosted Dec 14, 2016, 8:28 PM
Good one...........................
Debasis SahaPosted May 14, 2016, 1:55 AM
Good One..
Sonu ChaudharyPosted May 13, 2016, 1:38 PM
good one
Prasanna MuraliPosted May 13, 2016, 11:40 AM
Nice one