

Introduction
This article demonstrates Button-worked WebView In Xamarin.Forms applications. Xamarin is a platform that allows us to create a multi-platform mobile application for platforms, like Windows, iOS, and Android through a single integrated development environment (IDE).

Let's start.
Step 1
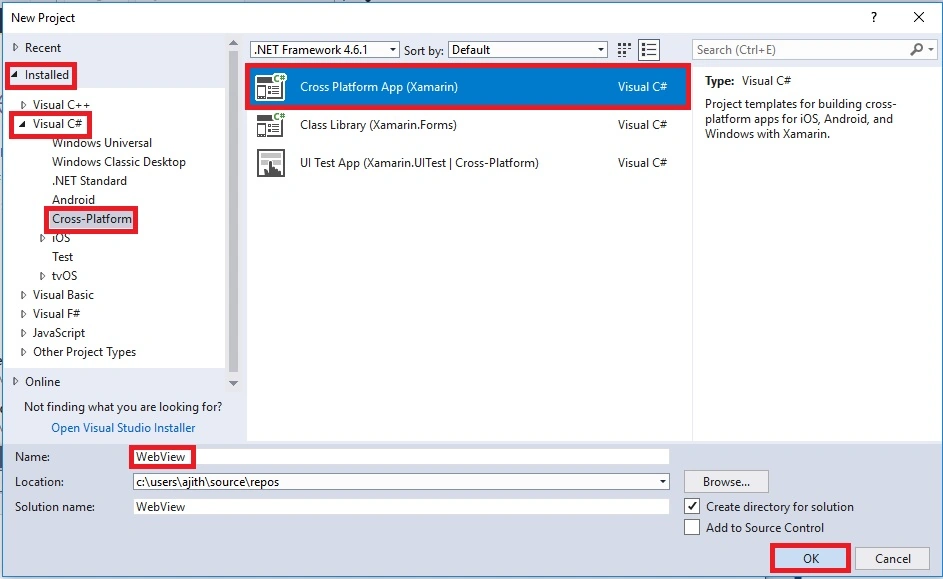
Open Visual Studio and go to New Project >> Installed >> Visual C# >> Cross-Platform.
Select Cross-Platform app, then give your project a name and location.
Step 2
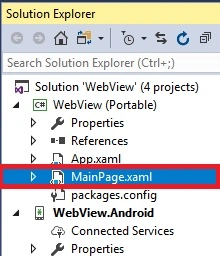
Open Solution Explorer >> Project Name (Portable) >> MainPage.xaml. Double click on the left pane and open the design view of this page.
The code is given below.
XAML Code
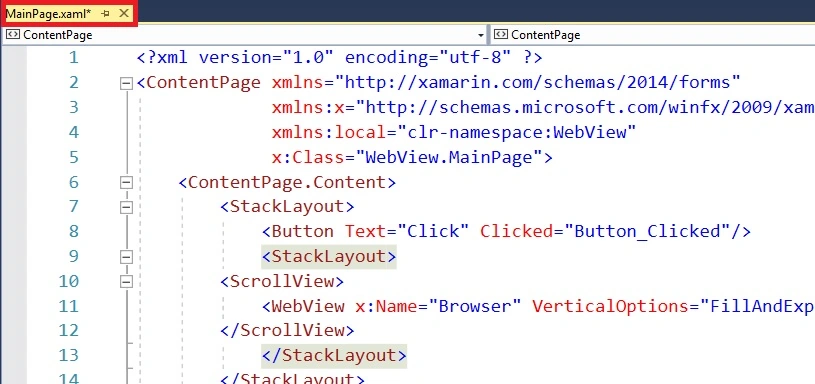
We are creating a button inside the StackLayout and WebView as well as Scroll View inside the StackLayout.
- <?xml version="1.0" encoding="utf-8" ?>
- <ContentPage xmlns="http://xamarin.com/schemas/2014/forms"
- xmlns:x="http://schemas.microsoft.com/winfx/2009/xaml"
- xmlns:local="clr-namespace:WebView"
- x:Class="WebView.MainPage">
- <ContentPage.Content>
- <StackLayout>
- <Button Text="Click" Clicked="Button_Clicked"/>
- <StackLayout>
- <ScrollView>
- <WebView x:Name="Browser" VerticalOptions="FillAndExpand" HeightRequest="500"/>
- </ScrollView>
- </StackLayout>
- </StackLayout>
- </ContentPage.Content>
- </ContentPage>
Step 3
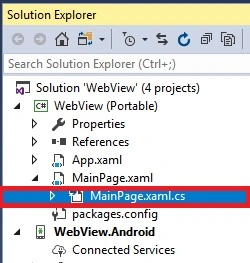
Open Solution Explorer >> Project Name (Portable) >> MainPage.xaml.cs. Double click to open the design view of this page.
The code is given below.
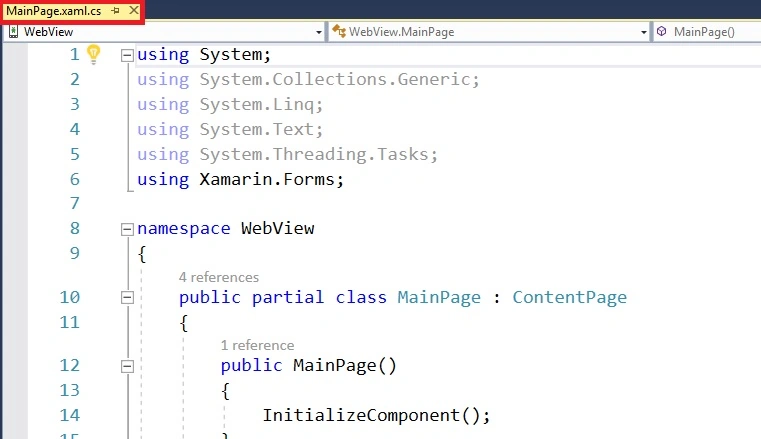
Button-worked WebView is created using this code. Give your own link in the code.
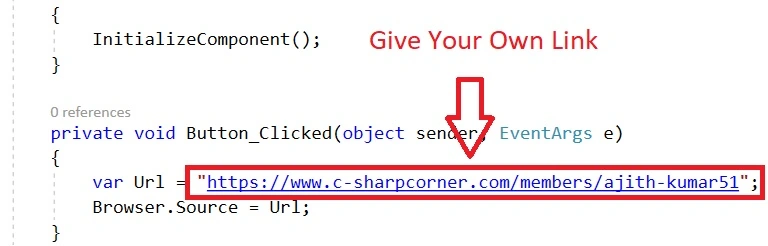
C# Code
- using System;
- using System.Collections.Generic;
- using System.Linq;
- using System.Text;
- using System.Threading.Tasks;
- using Xamarin.Forms;
- namespace WebView
- {
- public partial class MainPage : ContentPage
- {
- public MainPage()
- {
- InitializeComponent();
- }
- private void Button_Clicked(object sender, EventArgs e)
- {
- var Url = "https://www.c-sharpcorner.com/members/ajith-kumar51";
- Browser.Source = Url;
- }
- }
- }
Step 4
Next, select the "Build & deploy" option, followed by selecting from the list of Android Emulator or Simulator. You can choose any API (Application Program Interface) level emulator or simulator to run it.
Output
After a few seconds, you will see your app working.
Click the "Click" button. The WebView is displayed.

Finally, we have successfully created a Xamarin.Forms Button-worked WebView.
Join the conversation! Your thoughts help the community grow.