

In this article series, we are going to develop a desktop chat application using Angular 2 and Electron. In this part, we will setup Angular 2 application with Electron. We will extend this application in the next the parts of this series to use it as a chat window.
Prerequisites
- Download and install Node.js from here.
- Download and install Visual Studio Code from here.
- You can pull the code from GitHub: here.
Initial Setup – Angular2 Application
Create a new folder for the application. I will name it as ‘desktop-chat-app-with-electron’. Open the folder in Visual Studio Code. Open terminal and run ‘npm i -g @angular/cli@latest’ command to install latest Angular CLI globally as we have used ’–g’ as a parameter.
- "scripts": {
- "ng": "ng",
- "start": "ng serve",
- "build": "ng build",
- "test": "ng test",
- "lint": "ng lint",
- "e2e": "ng e2e",
- "ngstart": "npm run build && npm run start"
- }
Open terminal and change directory to ‘chat-app’. Execute ‘npm run ngstart’. It will build the Angular application and start it on port 4200. You can check it in browser by hittingthe URL ‘http://localhost:4200’. Now, we are ready with Angular setup.
Initial Setup – Electron
We will install Electron by executing the command ‘npm install --save-dev electron’. It will install the Electron module and add it to the devDependancies section in package.json of Angular application.
Now, create ‘electron-src’ folder under ‘chat-app’ folder.
- {
- "name" : "electron-chat-app",
- "version" : "1.0.0",
- "main" : "starter.js"
- }
- 'use strict';
- const electron = require("electron");
- const app = electron.app;
- const BrowserWindow = electron.BrowserWindow;
- let window;
- const createWindow =()=> {
- window = new BrowserWindow({width: 800, height: 800});
- window.loadURL(`file://${__dirname}/index.html`)
- window.on('closed', () => {
- window = null
- });
- };
- app.on('ready', createWindow);
- app.on('activate', () => {
- if (window === null) {
- createWindow();
- }
- })
When the app will be ready, createWindow will be called. The same will be called on ‘activate’ event.
Build and Run
Now, we are ready with Angular2 and Electron setup. So, let's see the output as desktop app. But before that, we will setup some commands/scripts for easy processing of build and run the application.
Open package.json from ‘chat-app’ folder. Add the following commands to ‘scripts’ property.
- "ngbuild": "ng build --base-href .",
- "ecopyout": "cp electron-src/* dist/",
- "estart": "electron dist/",
- "erun": "npm run ngbuild && npm run ecopyout && npm run estart"
‘ngbuild’ will build the Angular application with base URL as ., it means current directory.
‘ecopyout’ will copyall files from ‘electron-src’ folder to dist folder, which is output directory of the Angular application.
‘estart’ will start the Electron application considering package.json file from dist folder. We are copying package.json from ‘electron-src’ to ‘dist’.
‘erun’ will execute all three commands added above.
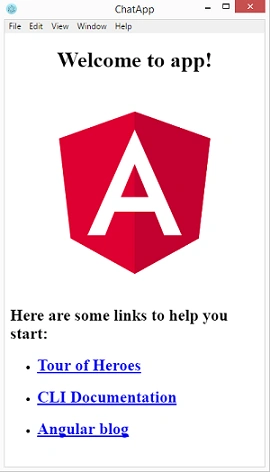
We are ready with setup. In next article, we will start coding the chat application UI. Until then, keep exploring Electron.
Manav PandyaPosted Sep 26, 2017, 12:28 AM
Nice share sir ...............