

Introduction
In this article, I will show you how to create an Android app that shows the Battery Level of your device.A battery is an electrochemical cell (or enclosed and protected material) that can be charged electrically to provide a static potential for power or released electrical charge when needed.
Requirements
- Android Studio version 2.3.3
- Little bit XML and JAVA knowledge.
- Android Emulator (or) Android mobile
- Download link (Android Studio)
Steps to be followed
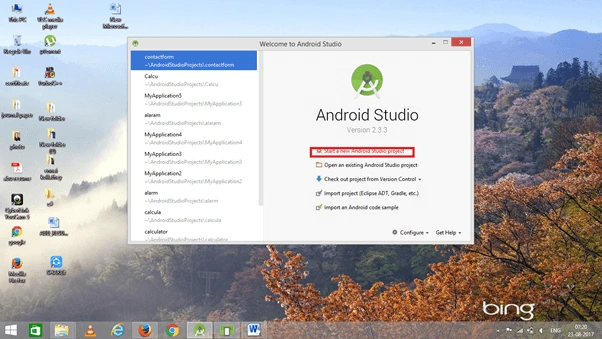
Follow these steps to create the app using Android Studio. I have attached the source code too.
Step 1
Step 2
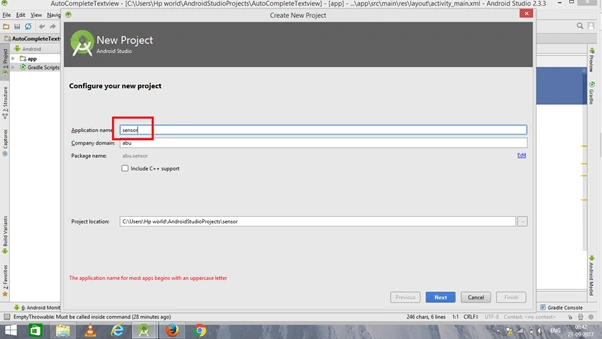
You can choose your application name and choose where your project is stored. If you wish to use C++ for coding the project, mark the "Include C++ support", and click the "Next" button.
Step 3
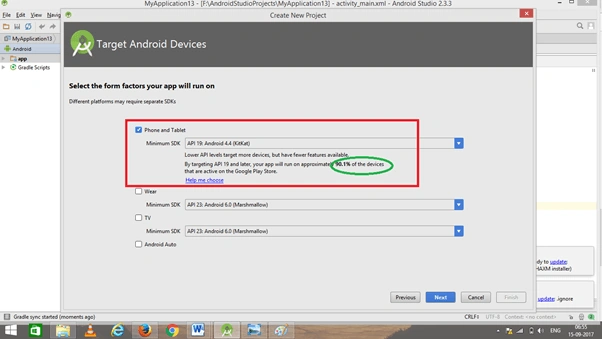
Now, select the version of Android and select the target Android devices. We need to choose the SDK level which plays an important role to run the application.
Step 4
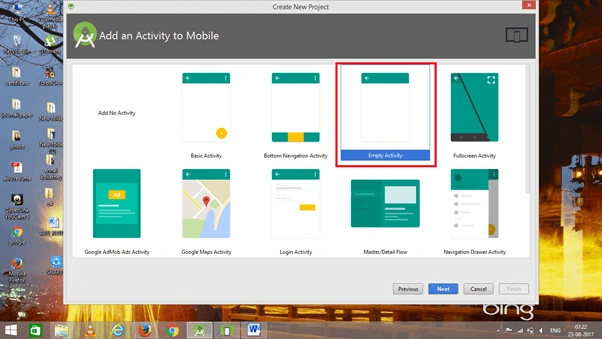
Now, add the activity and click the "Next" button.
Step 5
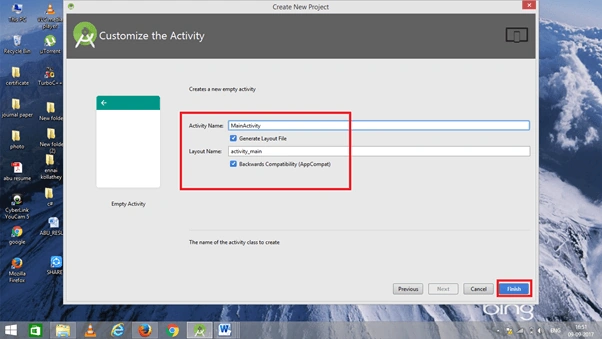
Add Activity name and click "Finish".
Step 6
Go to activity_main.xml. This XML file contains the designing code for the Android app.
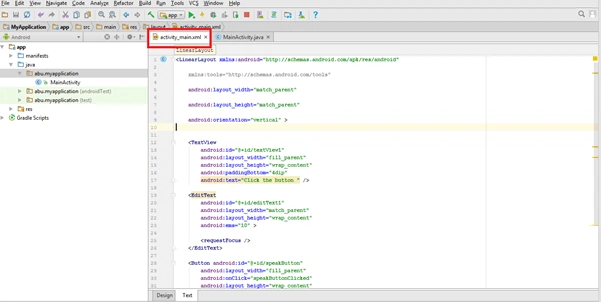 The XML code is given below.
- <?xml version="1.0" encoding="utf-8"?>
- <RelativeLayout
- xmlns:android="http://schemas.android.com/apk/res/android"
- xmlns:tools="http://schemas.android.com/tools"
- android:layout_width="match_parent"
- android:layout_height="match_parent"
- android:padding="16dp"
- tools:context=".MainActivity"
- android:background="#d5ebfa"
- >
- <ProgressBar
- android:id="@+id/pb"
- android:layout_width="150dp"
- android:layout_height="150dp"
- style="@android:style/Widget.ProgressBar.Horizontal"
- android:progressDrawable="@layout/progressbar_states"
- android:layout_centerInParent="true"
- />
- <TextView
- android:id="@+id/tv_percentage"
- android:layout_width="wrap_content"
- android:layout_height="wrap_content"
- android:textSize="25dp"
- android:textColor="#000"
- android:layout_centerInParent="true"
- />
- <TextView
- android:id="@+id/tv_info"
- android:layout_width="wrap_content"
- android:layout_height="wrap_content"
- android:textSize="20dp"
- />
- </RelativeLayout>
Step 7
Go to Main Activity.java. This Java program is the back-end language of Android.
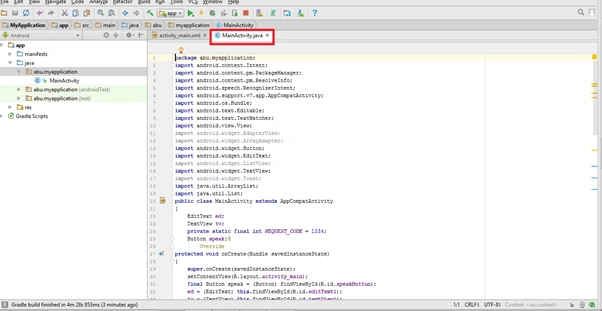 The java code is given below.
- package abu.battery;
- import android.content.BroadcastReceiver;
- import android.content.Context;
- import android.content.Intent;
- import android.content.IntentFilter;
- import android.os.BatteryManager;
- import android.support.v7.app.AppCompatActivity;
- import android.os.Bundle;
- import android.view.Window;
- import android.widget.ProgressBar;
- import android.widget.TextView;
- public class MainActivity extends AppCompatActivity {
- private Context mContext;
- private TextView mTextViewInfo;
- private TextView mTextViewPercentage;
- private ProgressBar mProgressBar;
- private int mProgressStatus = 0;
- private BroadcastReceiver mBroadcastReceiver = new BroadcastReceiver() {
- @Override
- public void onReceive(Context context, Intent intent) {
- int scale = intent.getIntExtra(BatteryManager.EXTRA_SCALE,-1);
- mTextViewInfo.setText("Battery Scale : " + scale)
- int level = intent.getIntExtra(BatteryManager.EXTRA_LEVEL,-1);
- mTextViewInfo.setText(mTextViewInfo.getText() + "\nBattery Level : " + level);
- float percentage = level/ (float) scale;
- mProgressStatus = (int)((percentage)*100);
- mTextViewPercentage.setText("" + mProgressStatus + "%");
- mTextViewInfo.setText(mTextViewInfo.getText() +
- "\nPercentage : "+ mProgressStatus + "%");
- mProgressBar.setProgress(mProgressStatus);
- }
- };
- @Override
- protected void onCreate(Bundle savedInstanceState) {
- requestWindowFeature(Window.FEATURE_ACTION_BAR);
- super.onCreate(savedInstanceState);
- setContentView(R.layout.activity_main);
- mContext = getApplicationContext();
- IntentFilter iFilter = new IntentFilter(Intent.ACTION_BATTERY_CHANGED);
- mContext.registerReceiver(mBroadcastReceiver,iFilter);
- mTextViewInfo = (TextView) findViewById(R.id.tv_info);
- mTextViewPercentage = (TextView) findViewById(R.id.tv_percentage);
- mProgressBar = (ProgressBar) findViewById(R.id.pb);
- }
- }
Step 8
Go to (App ⇒ Res ⇒Layout⇒progressbar_states.xml).
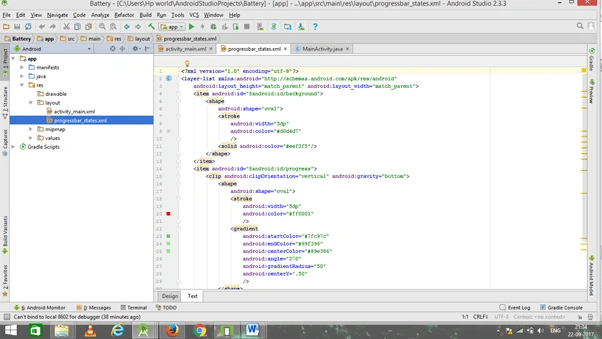 The Progressbar_states.xml code is given below.
- <?xml version="1.0" encoding="utf-8"?>
- <layer-list xmlns:android="http://schemas.android.com/apk/res/android"
- android:layout_height="match_parent" android:layout_width="match_parent">
- <item android:id="@android:id/background">
- <shape
- android:shape="oval">
- <stroke
- android:width="5dp"
- android:color="#d0d4d7"
- />
- <solid android:color="#eef2f5"/>
- </shape>
- </item>
- <item android:id="@android:id/progress">
- <clip android:clipOrientation="vertical" android:gravity="bottom">
- <shape
- android:shape="oval">
- <stroke
- android:width="5dp"
- android:color="#ff0001"
- />
- <gradient
- android:startColor="#7fc97c"
- android:endColor="#99f396"
- android:centerColor="#89e386"
- android:angle="270"
- android:gradientRadius="50"
- android:centerY=".50"
- />
- </shape>
- </clip>
- </item>
- </layer-list>
Step 9
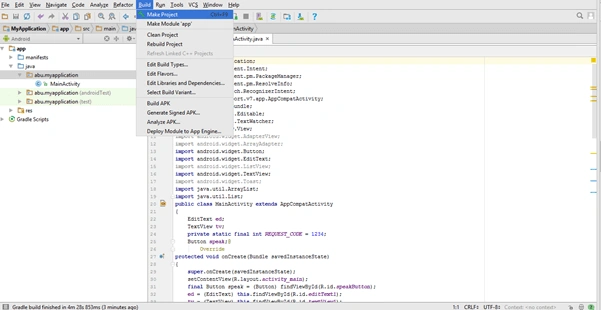
Now, go to the menu bar and click "Make a project" or press ctrl+f9 to debug the error.
Step 10
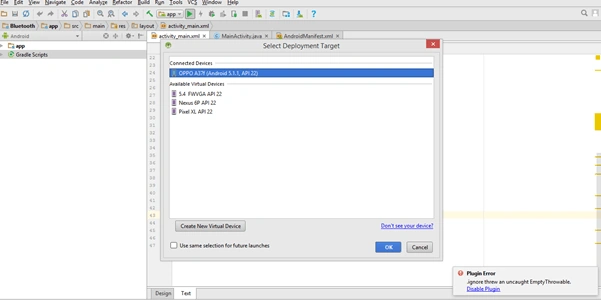
Then, click the Run button or press shift+f10 to run the project. And, choose the virtual machine option and click OK.
Conclusion
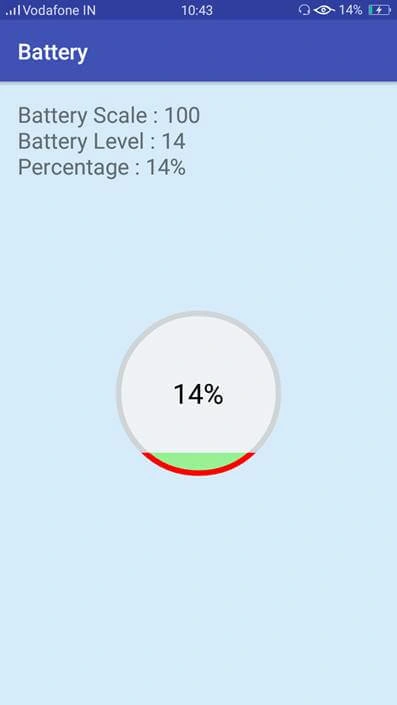
We have successfully created an app that shows the battery level of our Android phone.
Pavankalyan SiramPosted Jul 14, 2020, 8:07 AM
Hi I cannot understand the xml content you have only two text views and how to display the number in the progress bar because on applying your code it is not working
Carlos AranzabalPosted May 5, 2018, 11:54 AM
Hi, i had a program that provides gps location and send data to a server i can send the first % of batery but i want to update this % every time is changed, how can i do it? thanks on advance