

This article shows how to create a basic application using two HTML Client Screens in LightSwitch using Visual Studio 2012.
Procedure for creating an application in LightSwitch.
Step 1
Open the Solution Explorer.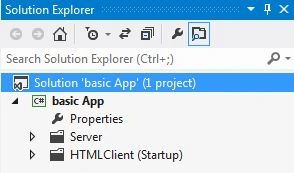
Step 2
In the Solution Explorer, right-click on the data source and choose "Add Table".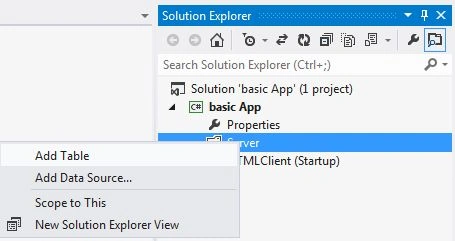
Step 3
The table appears.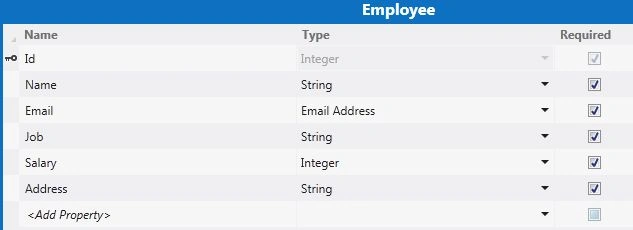
Step 4
In the Solution Explorer, right-click on "Screen" and choose "Add Screen".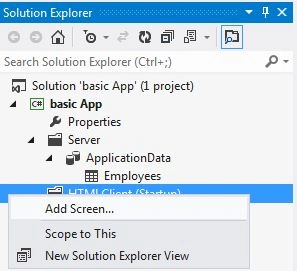
The Add New Screen dialog box appears, choose "Browse Data Screen" from the Screen Template and select Employees in the Screen Data and click "OK".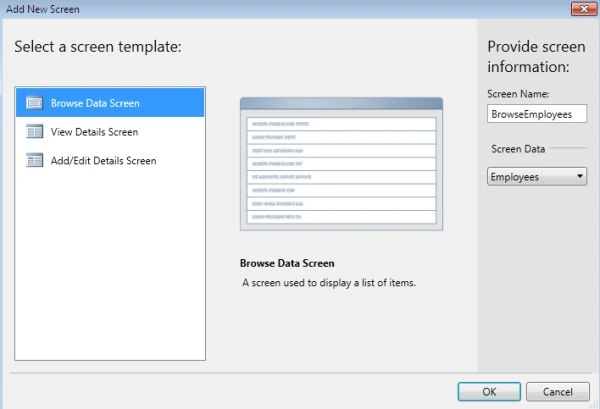
Step 5
Once again go to the Solution Explorer and add another Screen.
This time we will add an Add/Edit Details Screen and use the same Screen Data.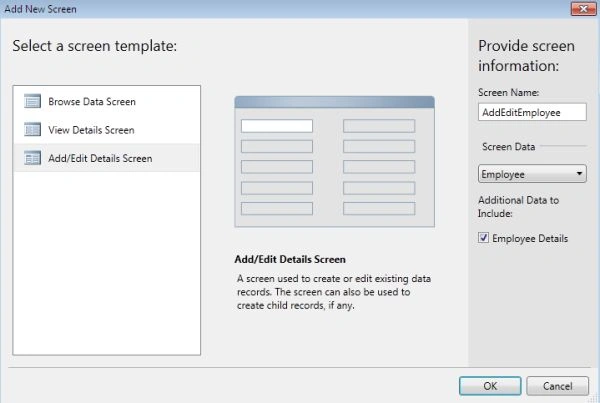
Step 6
Open the Browse Screen Designer.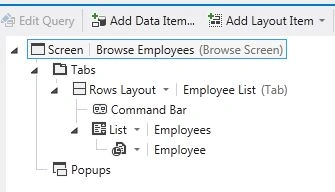
In the Screen Designer right-click to add a button.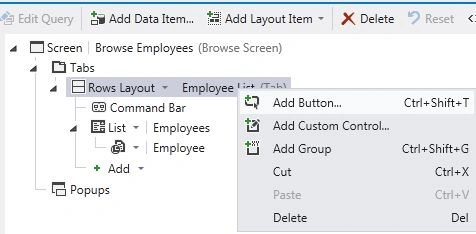
Step 7
The Add Button Dialog Box appears. From that select "Choose an existing method", and specify "Employees.addAndEditNew".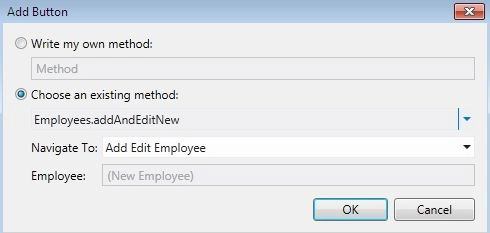
Step 8
Press F5 to run the application.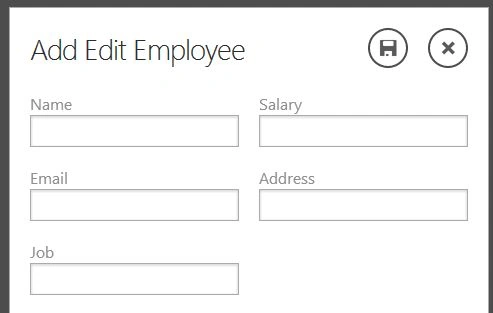
Provide the data to the screen and click on the "Save" button.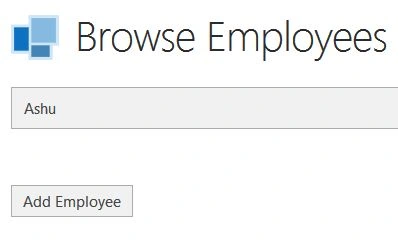
Join the conversation! Your thoughts help the community grow.