

Introduction
This article is a continuation of my previous one in which we were dealing with Azure DevTest for creating a Lab environment for testers and developers to host their applications on the cloud which will walk with a smart path for them. Click here to surf for it.
In this article we will be working with creating a claimable virtual machine on the same devtest lab which we have created by the previous demo. Click here to know more about Claimable Virtual Machines and pooling them.
At the end of this article you will be achieving the following objective:
- Creating a claimable Virtual Machine on Azure DevTest labs.
Follow the below steps now,
CREATING A CLAIMABLE VIRTUAL MACHINE
Login to the Azure Portal – www.portal.azure.com
Here goes my azure portal with the devtest lab which I have already created in the previous demo.
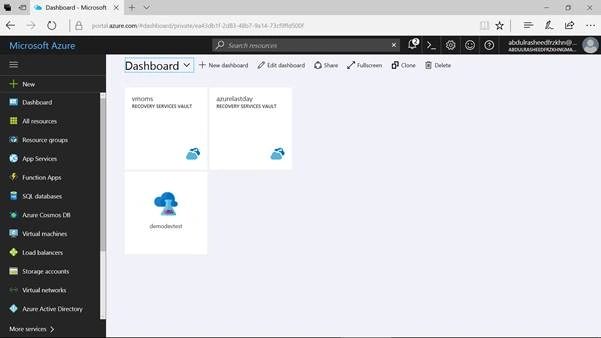
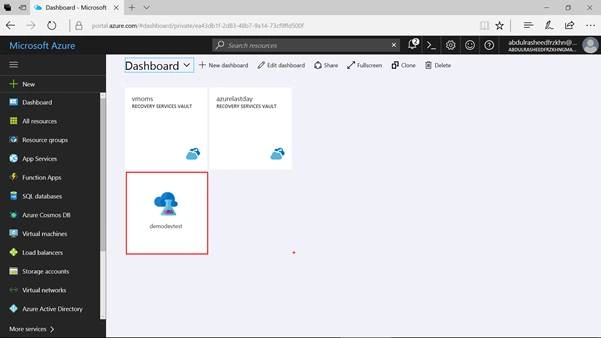
Lets click on the DevTest lab named “demodevtest” over here.
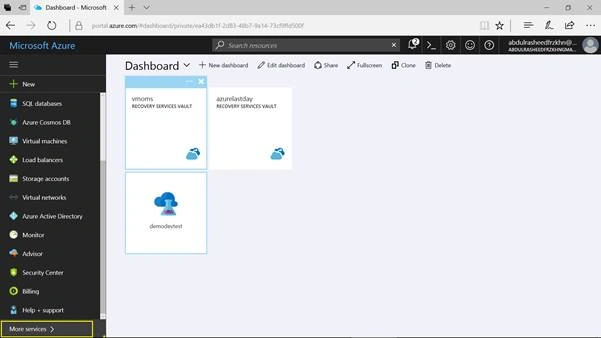
Now let's click on More Services from the Service blade of azure portal
Search for DevTest labs in the search bar and click on the same as shown below,
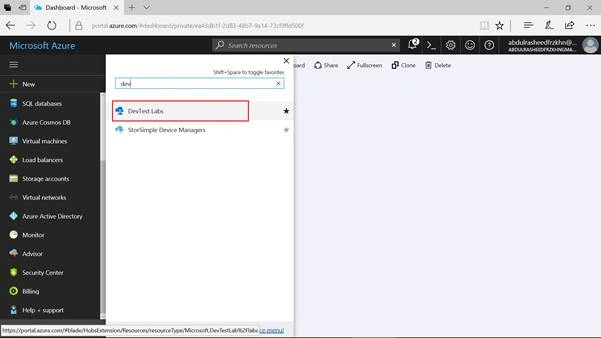
And even from this DevTest Lab environment you can move for the DevTest Lab environment which you have created as shown above.
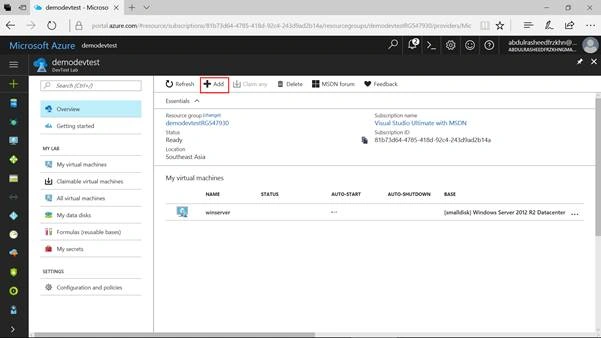
Now here at this “demodevtest” click on Add to add the Claimable Virtual Machine on the same devtest lab environment.
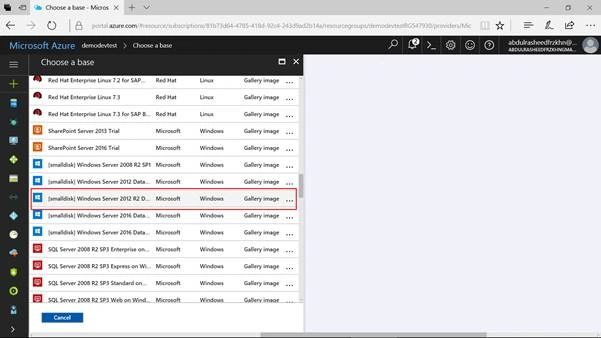
Here at this Choose a Base blade select the image of the virtual machine for which you want to add it as shown below,
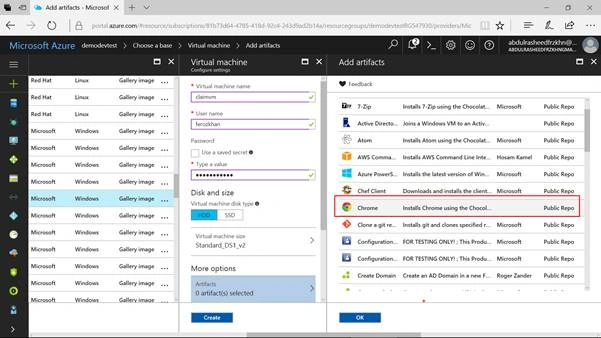
Configure the below details for it.
- Name the Virtual Machine.
- User name for the Virtual Machine.
- Disk and size of the Virtual Machine.
- Artifacts to be added.
- Advanced settings (surf for the steps below)
I have configured here with the below details as shown,
- VM name – claimvm
- User Name – ferozkhan
- Password –
- Disk – HDD
- Size – Standard_DS1_v2
- Artifacts – Google Chrome
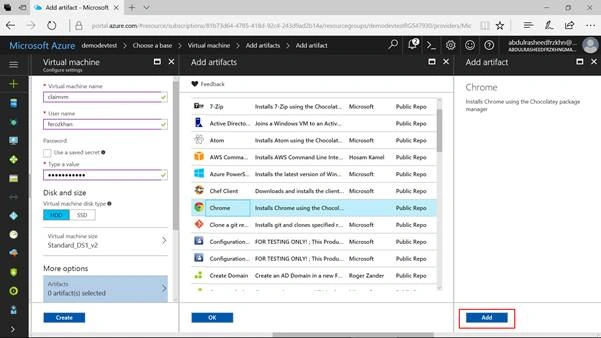
Click on Add for adding the Artifact
Lets move for Advanced Settings now.
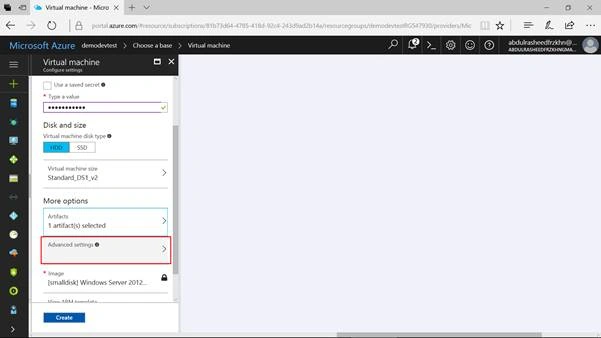
Make IP address to be available as a Public one
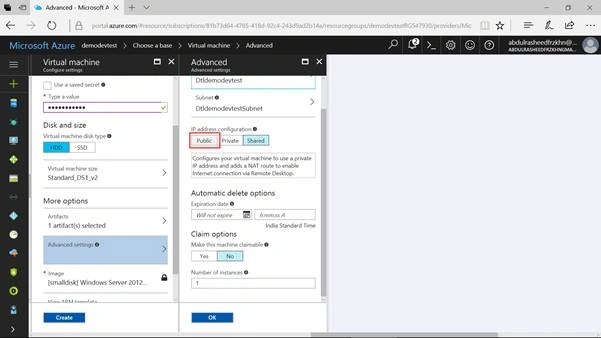
Set the machine to be claimable one by cliking on Yes
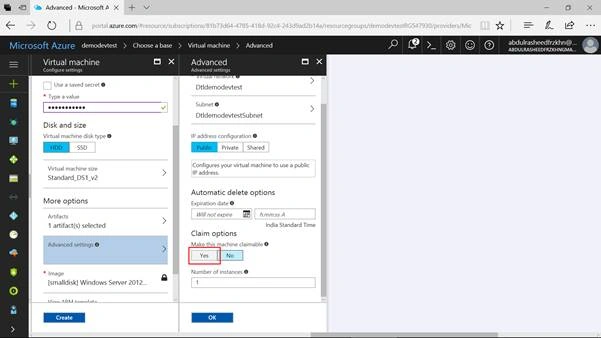
Click on OK to close this Advanced blade which has been configured for Claimable Virtual Machine
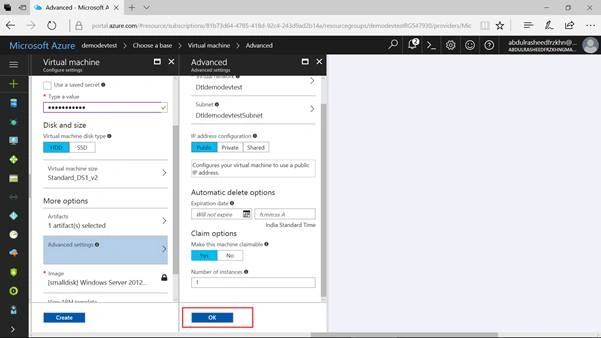
Click on View Azure Resource Manager Template to copy the template script which you can use it later for deployment purposes. (We will be working for the same in below steps)
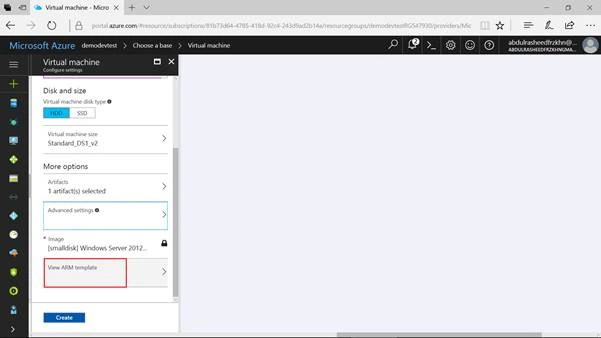
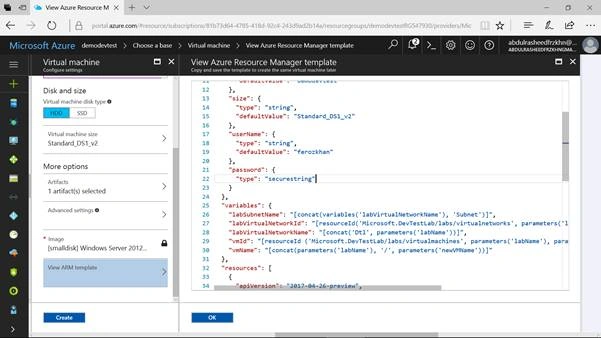
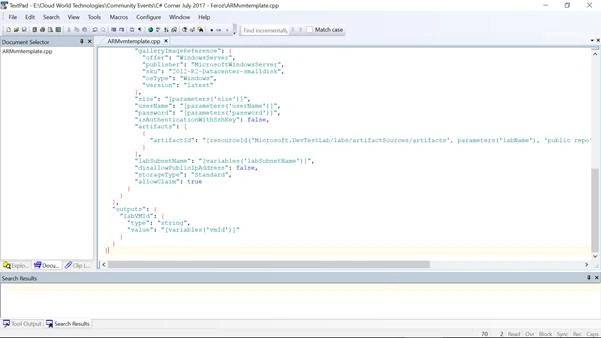
Click on Create to Create this Claimable Virtual Machine.
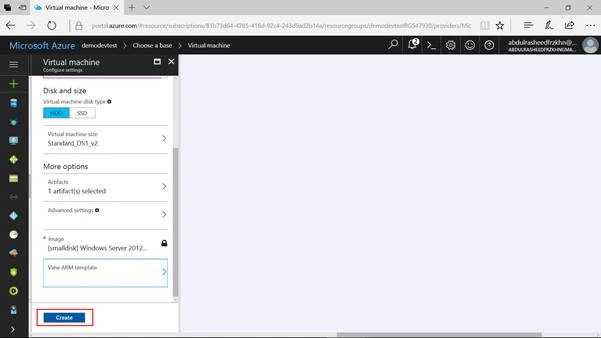
Once after the deployment is completed you can click on Claim Any on the DevTest Lab as shown,
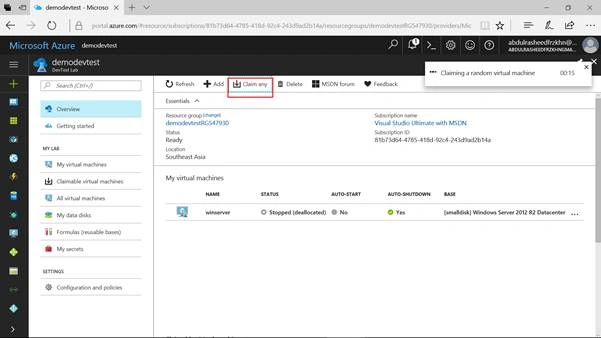
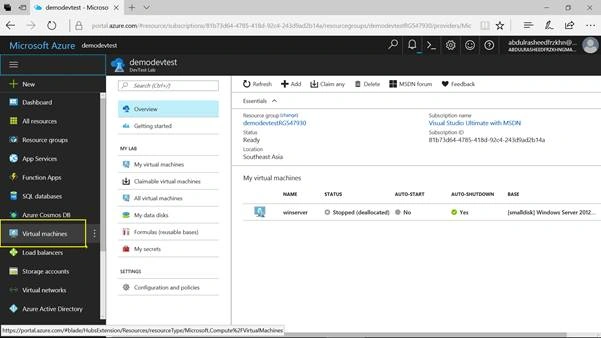
To make sense whether the Claimable Virtual Machine has been deployed or not click on Virtual Machines from the Master Blade which will help you to find the available virtual machines.
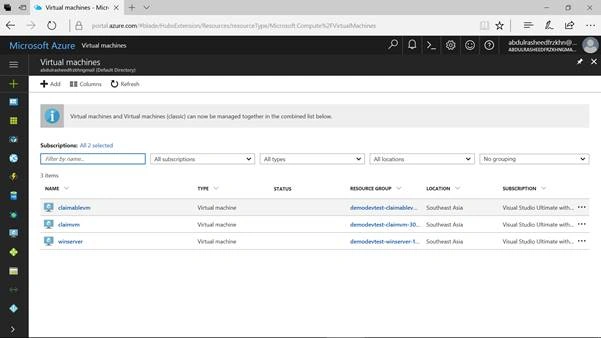
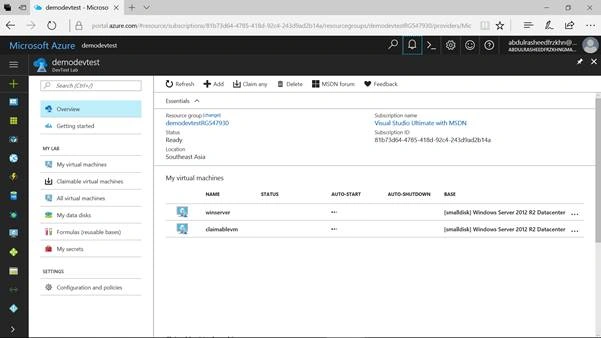
Here we go with the Claimable Virtual Machine on the DevTest Lab.
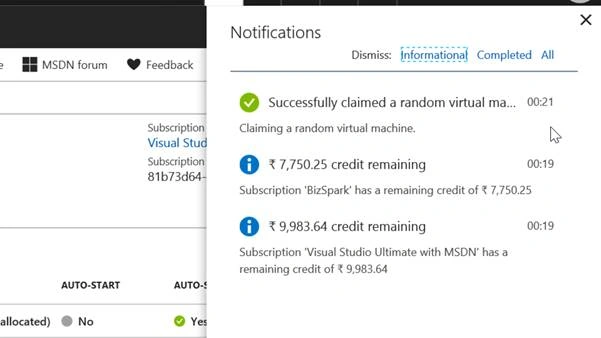
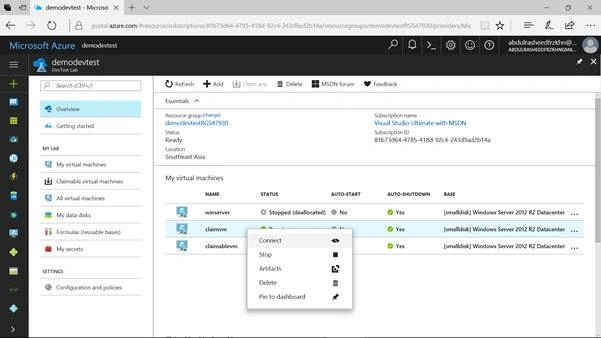
You can connect to the Claimable Virtual Machine by right clicking on the same and Clicking on Connect.
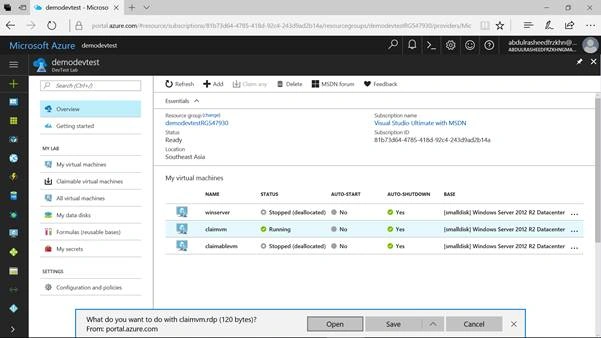
Connect it with help of Remote Desktop Connection as shown below
Click on Connect
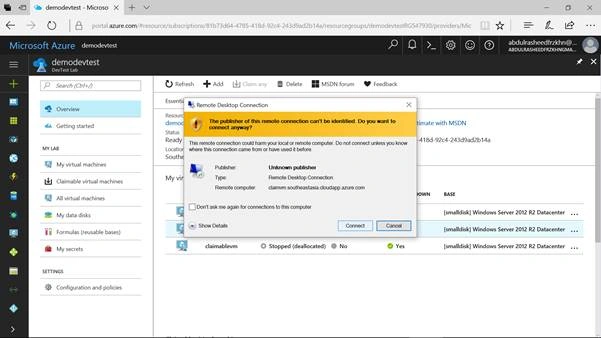
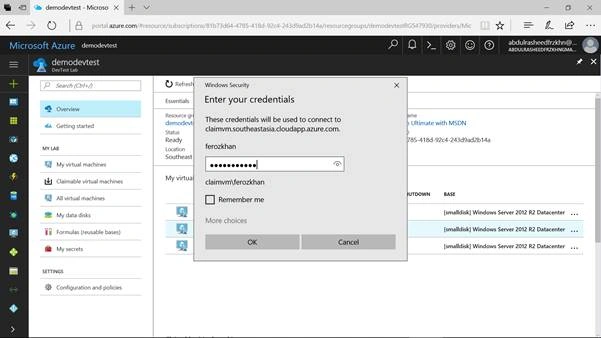
Enter the password for the Remote Desktop Connection to get connected with the Claimable Virtual Machine,
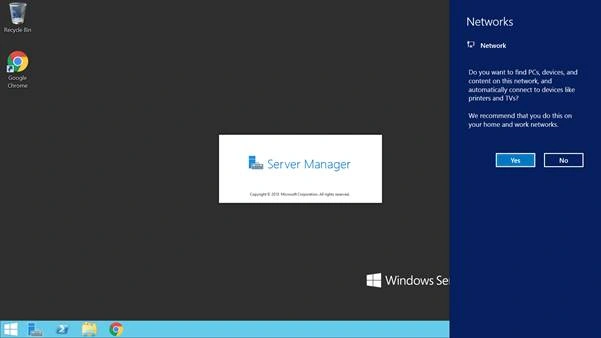
Here goes your Claimable Virtual Machine Deployed for the Azure DevTest Lab.
Follow my next article to work on deploying a Virtual Machine from ARM json template.
Vidyadharran GPosted Jul 10, 2017, 9:20 AM
It's nice article keep sharing bro........