

Here, I am going to present a project in MVC ASP.NET. This is the first part of my project.
About This Project:
Here, I am going to make a project on Article Management System. Here, the user can post an article, view all articles, add new technology etc. In this first part, I am going to show how we can show all articles in a list. Here, I am going to use Code First approach.
Now, I am going to explain this step by step:
Open Visual Studio 2015 -> Add new project.
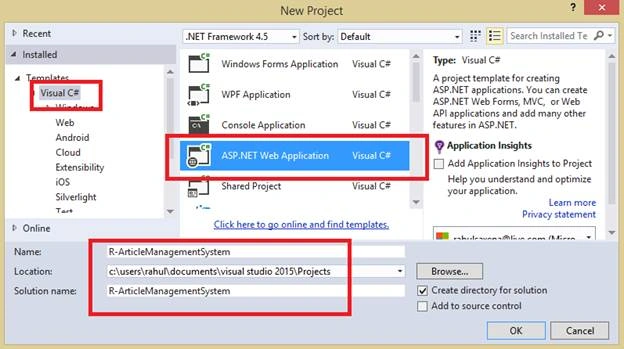
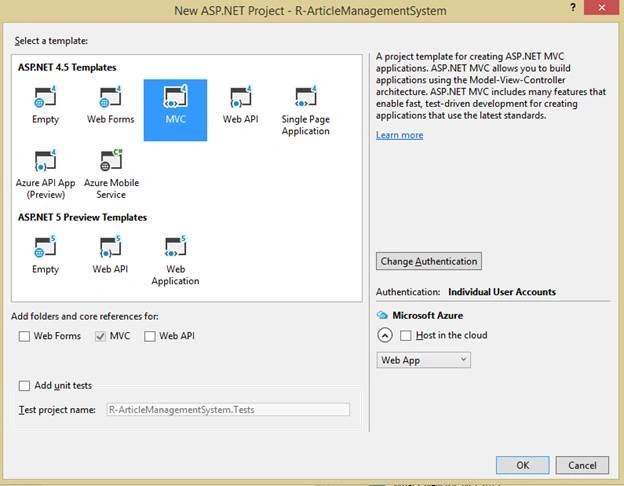
Initially in this project, I am going to use two tables.
- TBL_ARTICLE (To save the article related information).
- TBL_TECHNOLOGY (To save the technology information).
As I told you, I am going to use Code First approach. Hence, there is no need to create a database. It will create automatically, when you will run your Application first.
For each table you need in your project you have to create class in your Application: Right click on Models folder and add new class: Article.cs
- using System;
- using System.Collections.Generic;
- using System.Linq;
- using System.Web;
- using System.ComponentModel.DataAnnotations.Schema;
- using System.ComponentModel.DataAnnotations;
- namespace R_ArticleManagementSystem.Models
- {
- [Table("TBL_Article")]
- public class Article
- {
- [Key]
- public int ArticleID { get; set; }
- [MaxLength(500)]
- [Column(TypeName = "varchar")]
- public string ArticleTitle { get; set; }
- [MaxLength(1000)]
- [Column(TypeName = "text")]
- public string ArticleDescription { get; set; }
- [Column(TypeName = "text")]
- public string ArticleText { get; set; }
- public DateTime ArticlePostDate { get; set; }
- public int TechnologyID { get; set; }
- }
- }
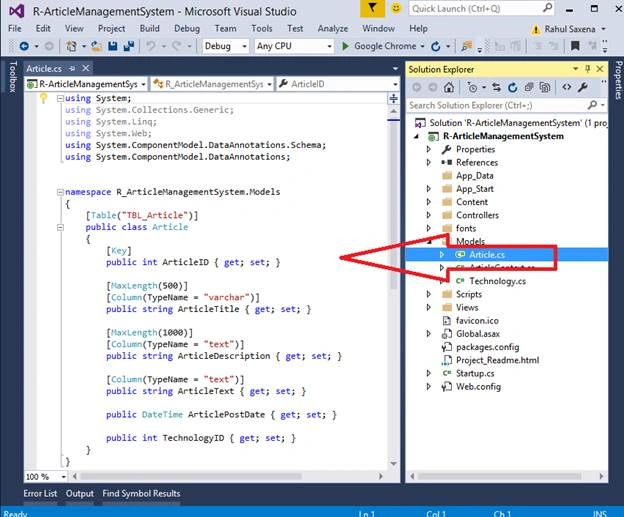
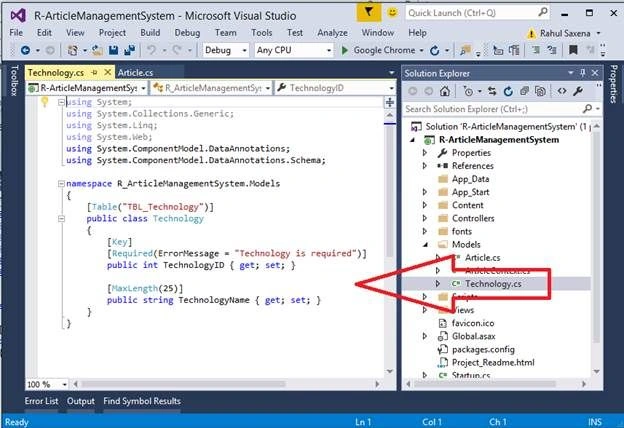
Now, again right click on Models folder and add a new class: Technology.cs and execute the code, given below.
- using System;
- using System.Collections.Generic;
- using System.Linq;
- using System.Web;
- using System.ComponentModel.DataAnnotations;
- using System.ComponentModel.DataAnnotations.Schema;
- namespace R_ArticleManagementSystem.Models
- {
- [Table("TBL_Technology")]
- public class Technology
- {
- [Key]
- [Required(ErrorMessage = "Technology is required")]
- public int TechnologyID { get; set; }
- [MaxLength(25)]
- public string TechnologyName { get; set; }
- }
- }
Now, add a context class, which will be responsible for the database activity i.e. ArticleContext.cs and execute the code, given below.
- using System.Data.Entity;
- namespace R_ArticleManagementSystem.Models
- {
- public class ArticleContext : DbContext
- {
- public ArticleContext() : base("MyConnection")
- {
- }
- public DbSet<Article> Articles { get; set; }
- public DbSet<Technology> Technologys { get; set; }
- }
- }
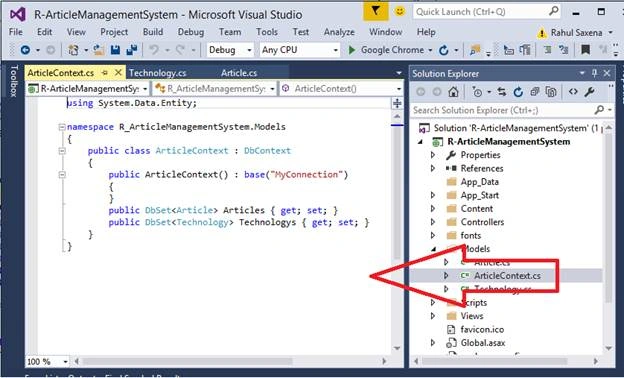
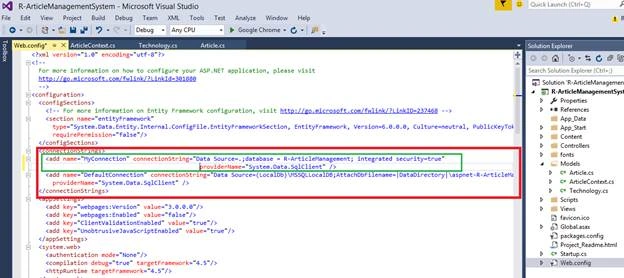
Here, you will notice I am using :base("MyConnection") this MyConnection is my connection string, which should exist in your web.config file, as given below.
- <connectionStrings>
- <add name="MyConnection" connectionString="Data Source=.;database = R-ArticleManagement; integrated security=true"
- providerName="System.Data.SqlClient" />
- <add name="DefaultConnection" connectionString="Data Source=(LocalDb)\MSSQLLocalDB;AttachDbFilename=|DataDirectory|\aspnet-R-ArticleManagementSystem-20160919025329.mdf;Initial Catalog=aspnet-R-ArticleManagementSystem-20160919025329;Integrated Security=True"
- providerName="System.Data.SqlClient" />
- </connectionStrings>
Now, run your Application or you can run it after adding your desired controller and views, if you don’t have controller or views to run your Application.
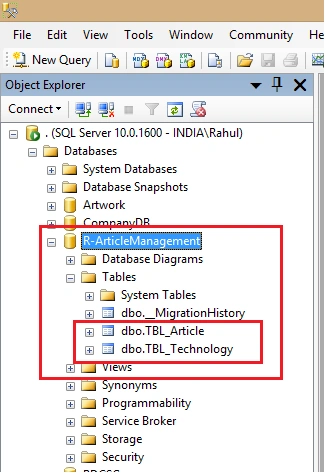
It will create a database and tables in your database Server.
After running your Application, it checks your SQL Server data base.
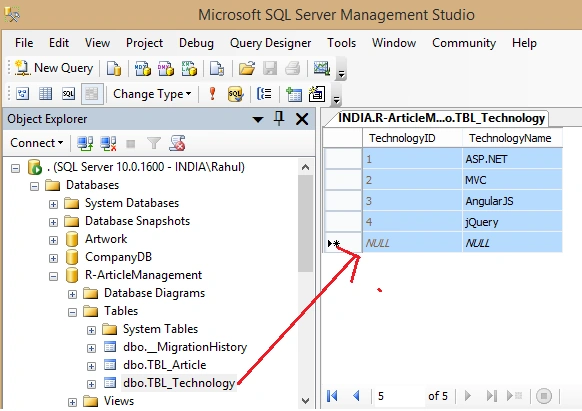
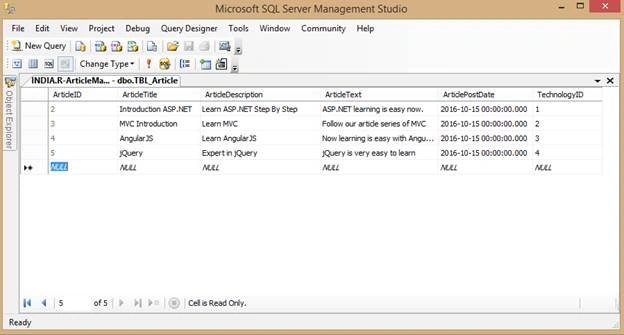
Now, insert some manual entry in your database, as I am going to show the listing of articles only in this part of the project. In the next part, I will show how we can insert the data in this project.
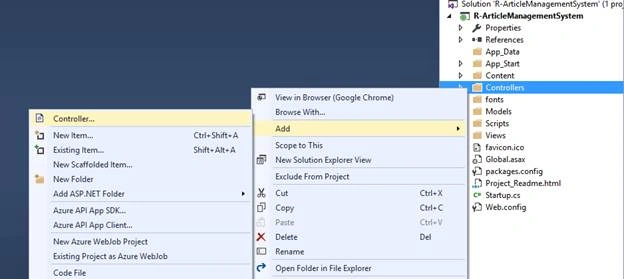
Now, its time to add a new controller -> Right click on Controller folder -> Add new controller.
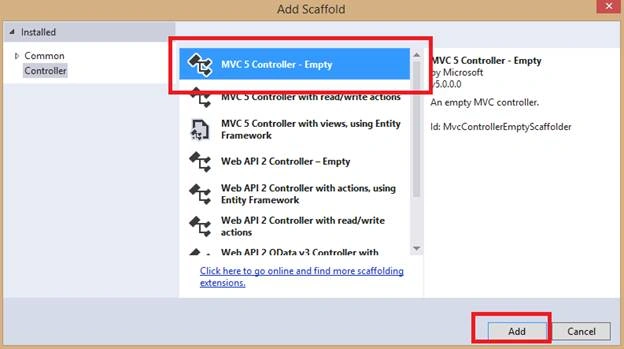
Add ArticleController.cs and execute the code, given below.
- using System;
- using System.Collections.Generic;
- using System.Linq;
- using System.Web;
- using System.Web.Mvc;
- using R_ArticleManagementSystem.Models;
- namespace R_ArticleManagementSystem.Controllers
- {
- public class ArticleController : Controller
- {
- ArticleContext db = null;
- public ArticleController()
- {
- db = new ArticleContext();
- }
- // GET: Article
- public ActionResult Index()
- {
- List<SelectListItem> technologyCategories = new List<SelectListItem>();
- technologyCategories.Add(new SelectListItem { Text = "Select Category", Value = "0", Selected = true });
- var techCategories = db.Technologys.ToList();
- foreach (var c in techCategories)
- {
- technologyCategories.Add(new SelectListItem { Text = c.TechnologyName, Value = Convert.ToString(c.TechnologyID) });
- }
- ViewBag.TechnologyList = technologyCategories;
- return View();
- }
- public JsonResult GetArticleByTechID(int techhId)
- {
- List<Article> articles = new List<Article>();
- articles = db.Articles.Where(x => x.TechnologyID == techhId).Take(10).ToList();
- return Json(articles, JsonRequestBehavior.AllowGet);
- }
- }
- }
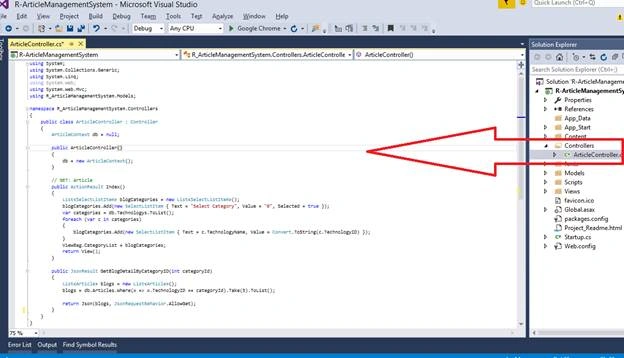
Now, right click on Index Action Method -> Add new view.
Index.cshtml
- @{
- ViewBag.Title = "Index";
- Layout = "~/Views/Shared/_Layout.cshtml";
- }
- <script src="~/Scripts/jquery-1.10.2.min.js"></script>
- <script type="text/javascript">
- $(document).ready(function () {
- $("#TechnologyList").change(function () {
- $.ajax({
- type: 'GET',
- url: '@Url.Action("GetArticleByTechID")',
- datatype: JSON,
- data: { 'techhId': $("#TechnologyList").val() },
- success: function (data) {
- $('#ArticleLisitngTable tbody').empty();
- $.each(data, function (i, item) {
- var rows = "<tr>"
- + "<td>" + item.ArticleID + "</td>"
- + "<td>" + item.ArticleTitle + "</td>"
- + "<td>" + item.ArticleDescription + "</td>"
- + "<td>" + item.ArticleText + "</td>"
- + "</tr>";
- $('#ArticleLisitngTable tbody').append(rows);
- });
- },
- error: function (data) { }
- });
- });
- });
- </script>
- <style type="text/css">
- .ArtTable {
- border: solid 1px #DDEEEE;
- border-collapse: collapse;
- border-spacing: 0;
- width: 100%;
- font: normal 13px Arial, sans-serif;
- }
- .ArtTable thead th {
- background-color: #ff6a00;
- border: solid 1px #DDEEEE;
- color: #ffffff;
- padding: 10px;
- text-align: left;
- }
- .ArtTable tbody td {
- border: solid 1px #b0ecee;
- color: #ff0000;
- padding: 10px;
- }
- .ArtTable-rounded {
- border: none;
- }
- .ArtTable-rounded thead th {
- background-color: #ff6a00;
- border: none;
- color: #ffffff;
- }
- .ArtTable-rounded thead th:first-child {
- border-radius: 10px 0 0 0;
- }
- .ArtTable-rounded thead th:last-child {
- border-radius: 0 10px 0 0;
- }
- .ArtTable-rounded tbody td {
- border: none;
- border-top: solid 1px #957030;
- background-color: #ffffff;
- }
- .ArtTable-rounded tbody tr:last-child td:first-child {
- border-radius: 0 0 0 10px;
- }
- .ArtTable-rounded tbody tr:last-child td:last-child {
- border-radius: 0 0 10px 0;
- }
- </style>
- <table style="width:100%;padding:40px; font-weight:bold; font-size:12pt;">
- <tr>
- <td style="padding-top:40px; background-color:#0094ff; color:white; ">
- Select Article Category : @Html.DropDownList("TechnologyList")
- </td>
- </tr>
- </table>
- <br />
- <table id="ArticleLisitngTable" class="ArtTable ArtTable-rounded">
- <thead>
- <tr>
- <th>Id</th>
- <th>Title</th>
- <th>Article Description</th>
- <th>Article Text</th>
- </tr>
- </thead>
- <tbody></tbody>
- </table>
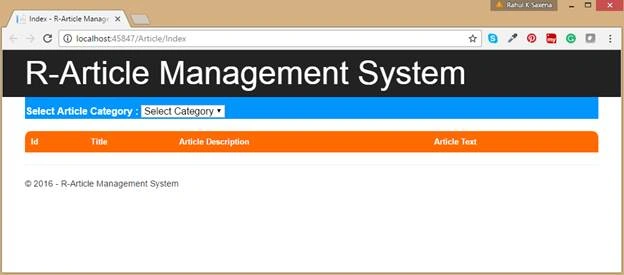
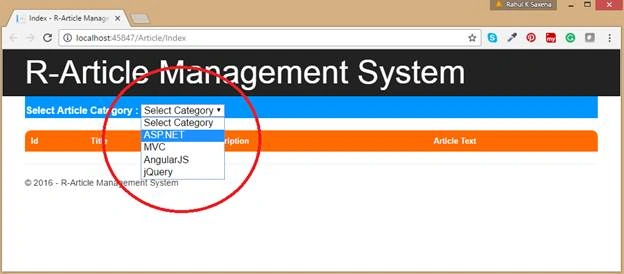
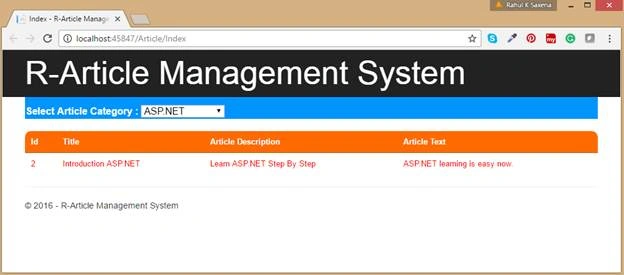
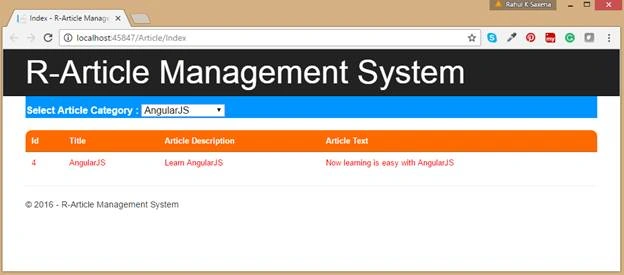
In the next part, I will post complete functionality of this MVC project.
Thennarasu NPosted Apr 20, 2018, 6:29 AM
Nice Article thank you upload .